
Introduction
Recently, I stumbled upon an issue that most of us dread - the failure of the Primary ISE node. This is a real curveball because when the ISE goes down, it drags everything down with it. The secondary node, while still functional, I didn't want to lean on it for too long. In this short blog post, we will go through the high-level steps required to rebuild a failed ISE node.
The deployment consists of two ISE nodes (Split Deployment) as shown below. One node is the Primary PAN and MnT and the other node is the Secondary PAN and MnT for the deployment. Both nodes serve as PSN.

Step 1 - Promote the Secondary
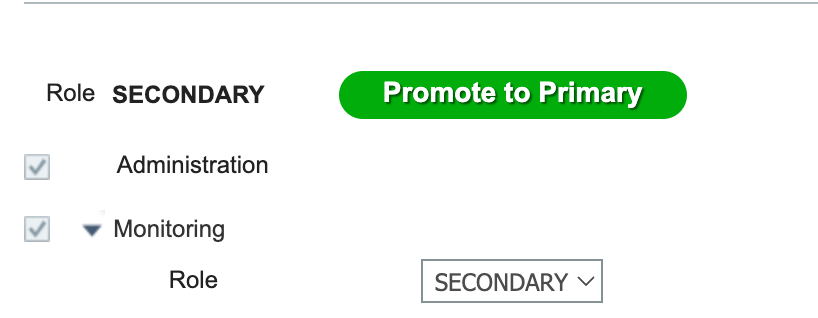
The first step is to Promote the Secondary node as the Primary PAN to restore the management access. You can do this by navigating to the Secondary ISE GUI Administration > System > Deployment and selecting, 'Promote to Primary'
Once the Secondary node has been promoted as the Primary, deregister the failed node from the deployment.
Step 2 - Re-Image/Build a New Node
If you are using an SNS appliance then you will need to re-image the ISE via CIMC. If you are using a VM, just build a new one using the ISO file. Once the installation, has been completed, please ensure to install the patches that match the current primary node.
Luckily, I had the System Certificates backed up with the Private Key, so I imported them back into the new node. If you don't have the certificates backed up, you may want to obtain a new one from your CA.
Step 3 - Add the New Node to the Deployment
The next step is to add the new node to the deployment by navigating to Administration > System > Deployment and select 'Register'

Wait for synchronization to be finished, at this point, the new node should sync the configuration from the current Primary node.
You may also need to integrate Active Directory into the new node by entering the required credentials of the domain.
Step 4 - Promote
If required promote the new node as primary. As mentioned before this may result in full-service loss so, please plan accordingly.


