Welcome back to the next part of the Docker series. In this post, we are going to look at running Docker on macOS. If you’re using Windows, most of the steps will be the same since both platforms rely on Docker Desktop.
On Linux, Docker runs natively, but on macOS and Windows, Docker Desktop creates a lightweight Linux VM in the background, and all your containers run inside that VM. You don’t need to worry about managing the VM yourself because Docker Desktop takes care of it for you.
Why Does macOS Need a Linux VM?
Docker was originally built to leverage Linux-specific features like cgroups and namespaces, which are essential for container isolation and resource management. macOS, being based on BSD, doesn’t have these Linux kernel features. This is why Docker Desktop spins up a small Linux VM using a lightweight hypervisor (on macOS it uses Apple’s HyperKit). Inside this VM, Docker runs as if it’s on a native Linux machine. This allows Docker containers to work seamlessly on macOS, despite the differences in the underlying operating system.
Installing Docker Desktop
You can download Docker Desktop by navigating to the Docker website and following the on-screen instructions to install it.
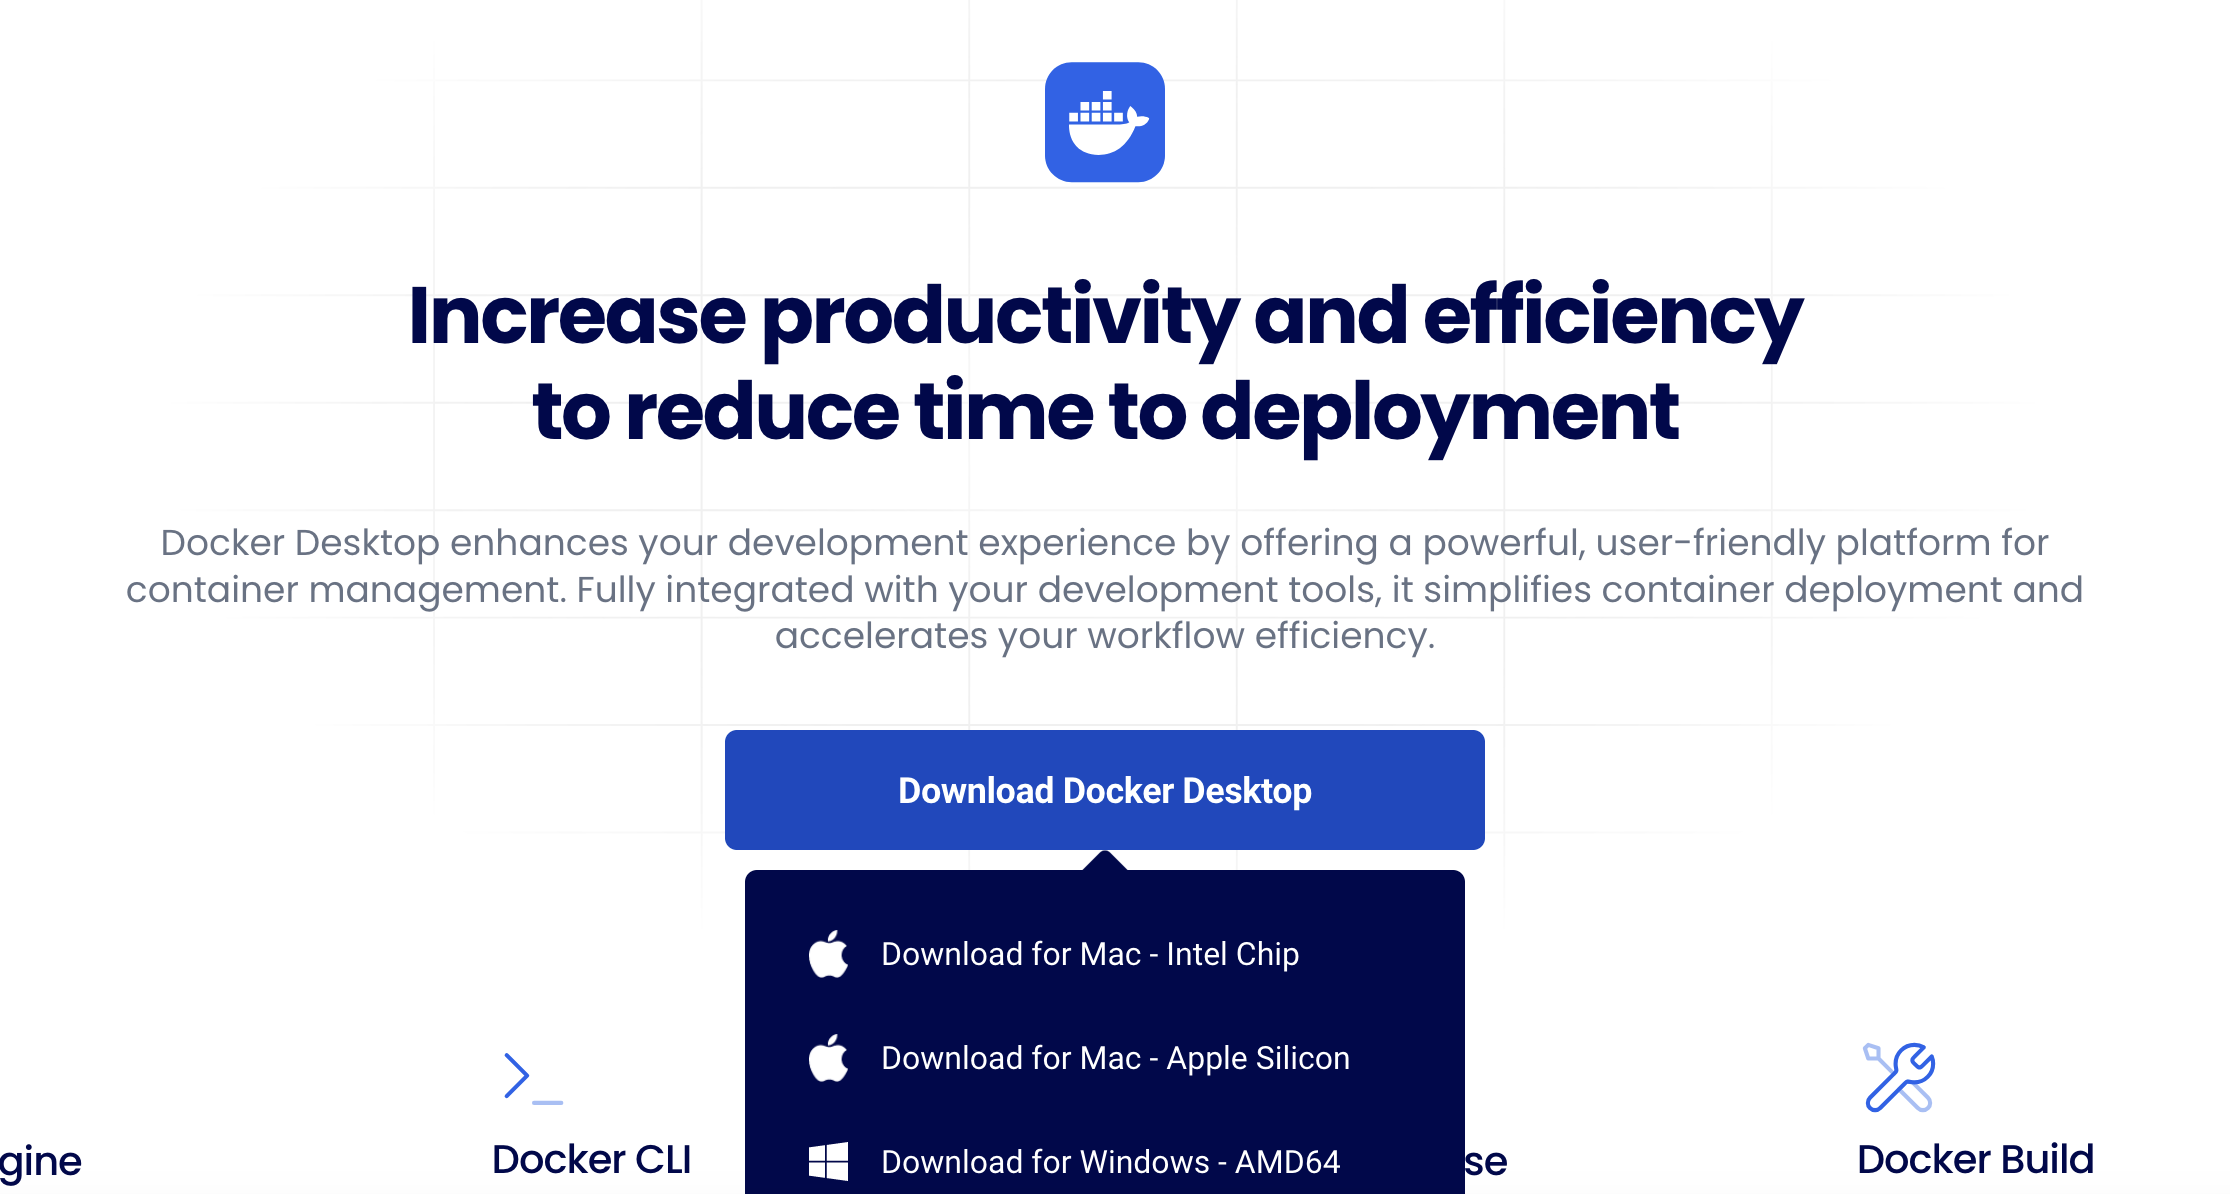
For this post, we’ll install Docker Desktop on macOS and use the same example from the previous post, the memos note-taking app. This way, you’ll see that the exact same Docker command works on macOS just like it does on Windows or Linux. Once Docker Desktop is installed and running, you’ll see the Docker Dashboard.
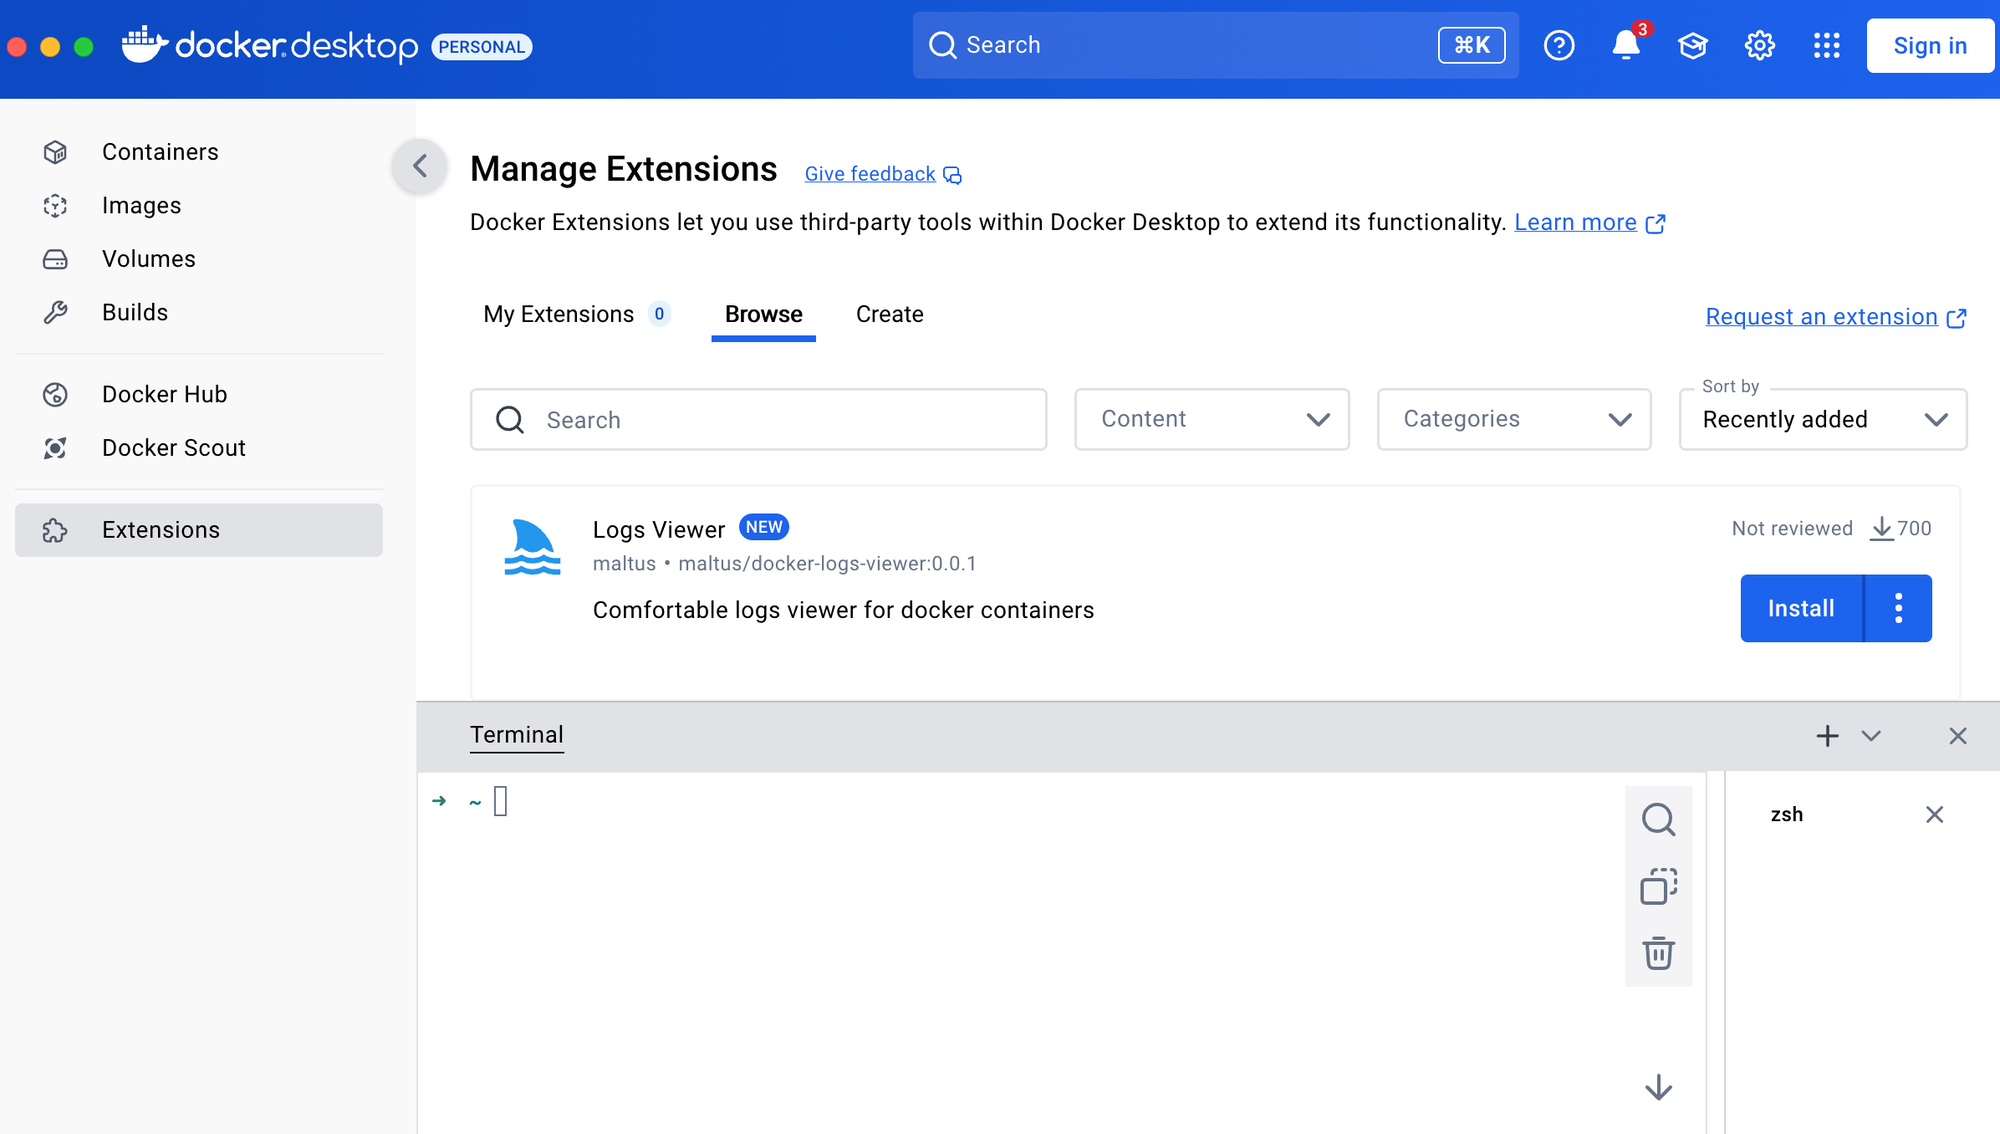
This is a simple UI where you can see your running containers, images, and volumes. It’s not necessary to use the UI for everything, but it’s nice to have if you want to check things visually.
Installing 'Memos' Application
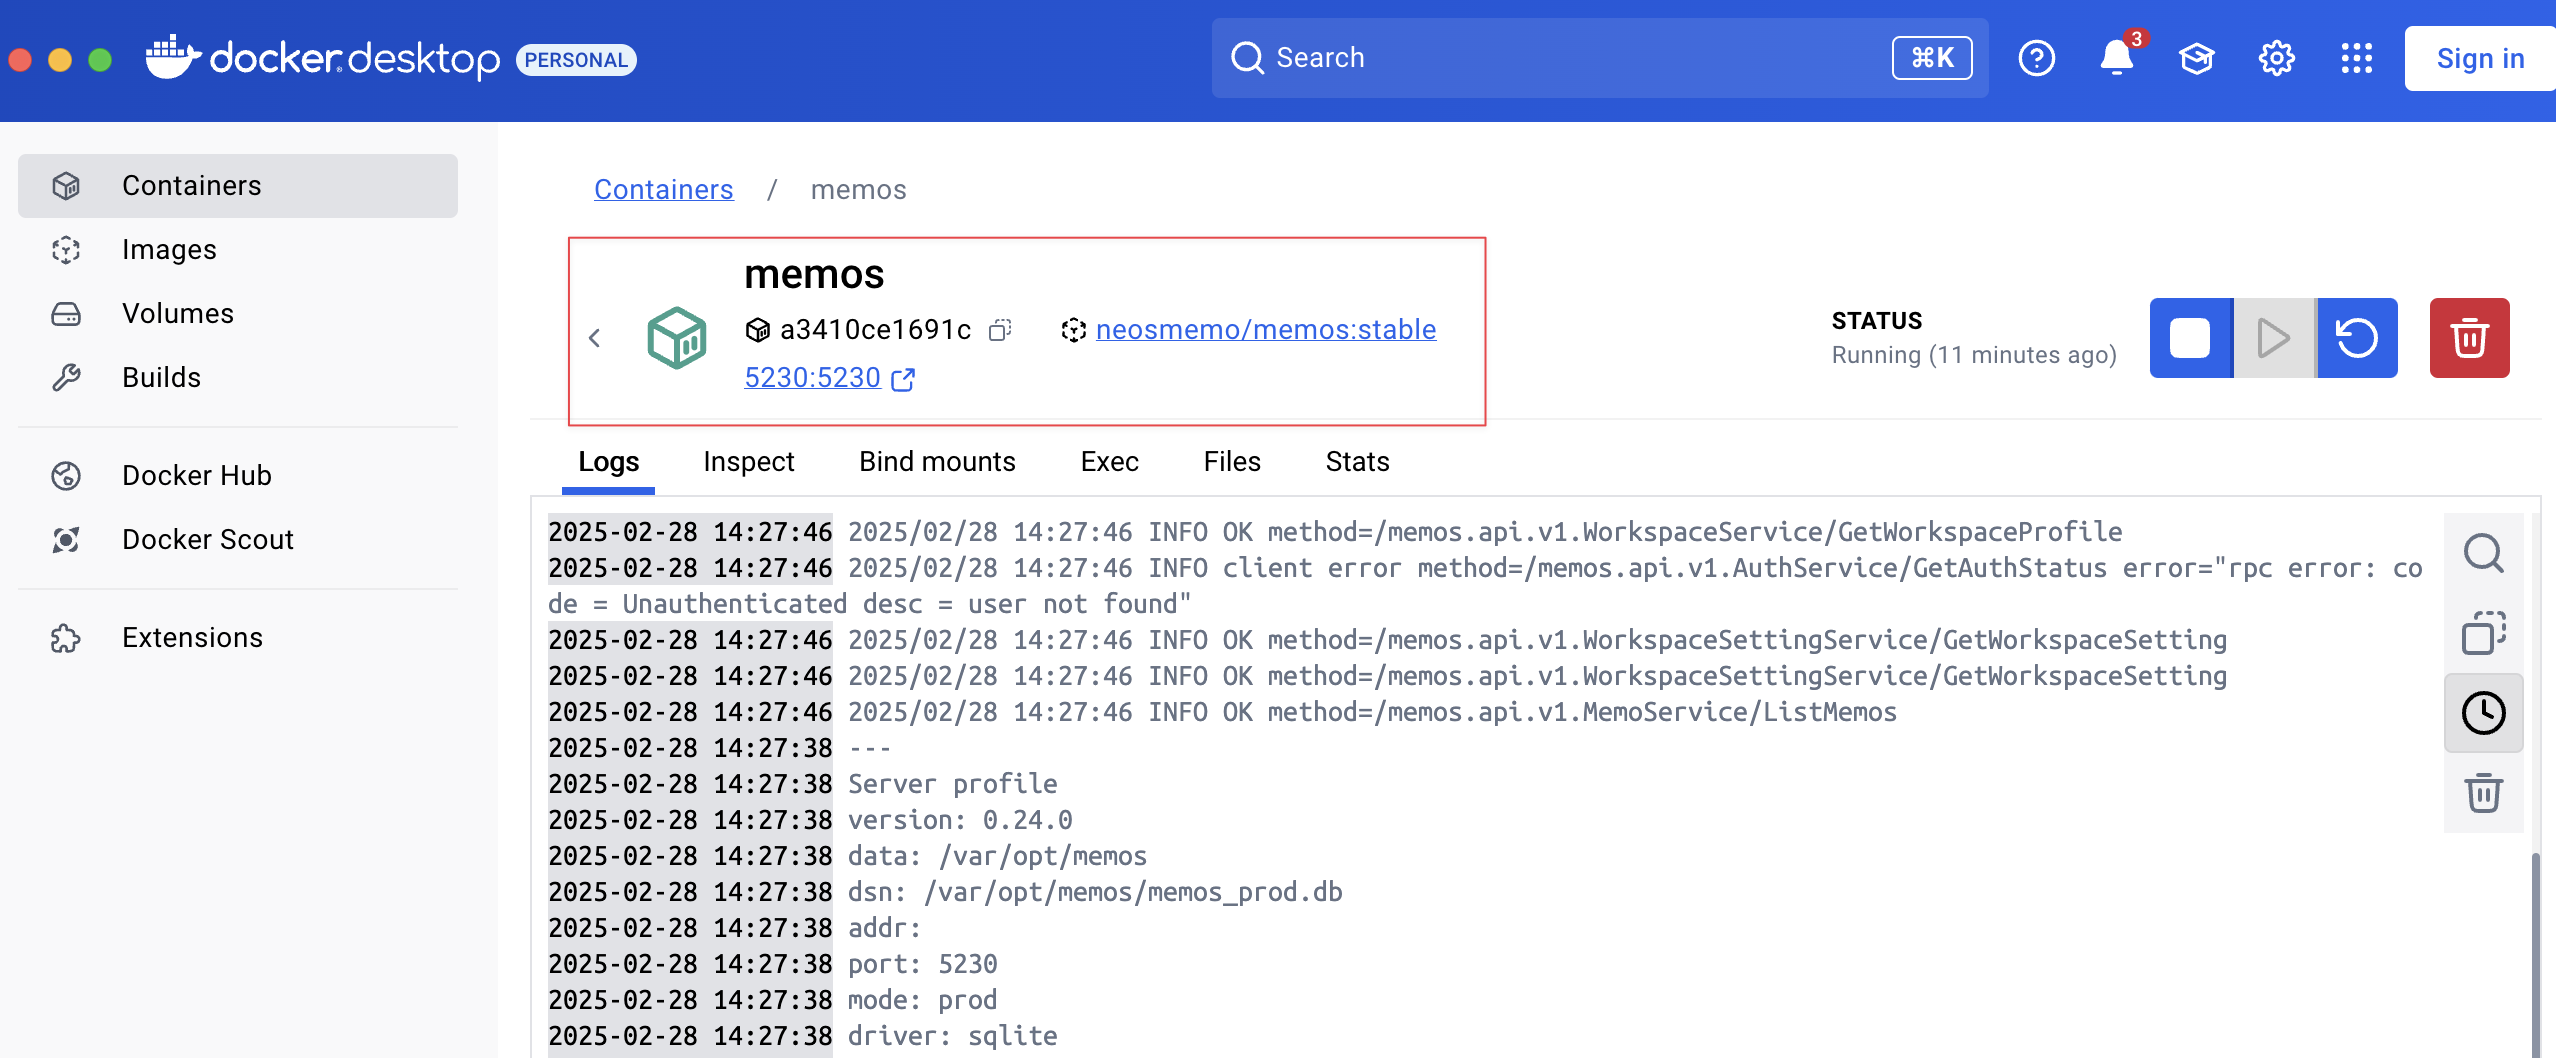
Now, let’s install memos. Open your terminal and run the same command we used earlier. memos is a simple, self-hosted note-taking app that lets you quickly jot down notes right from your browser. It’s lightweight, supports markdown, and stores your notes locally, making it a great option if you prefer to keep your notes private and under your control.
docker run -d \
  --init \
  --name memos \
  --publish 5230:5230 \
  --volume ~/.memos/:/var/opt/memos \
  neosmemo/memos:stable
That’s all you need. Docker will pull the image if it’s not already there, and start the container. Once running, you can access memos by opening http://localhost:5230 in your browser.
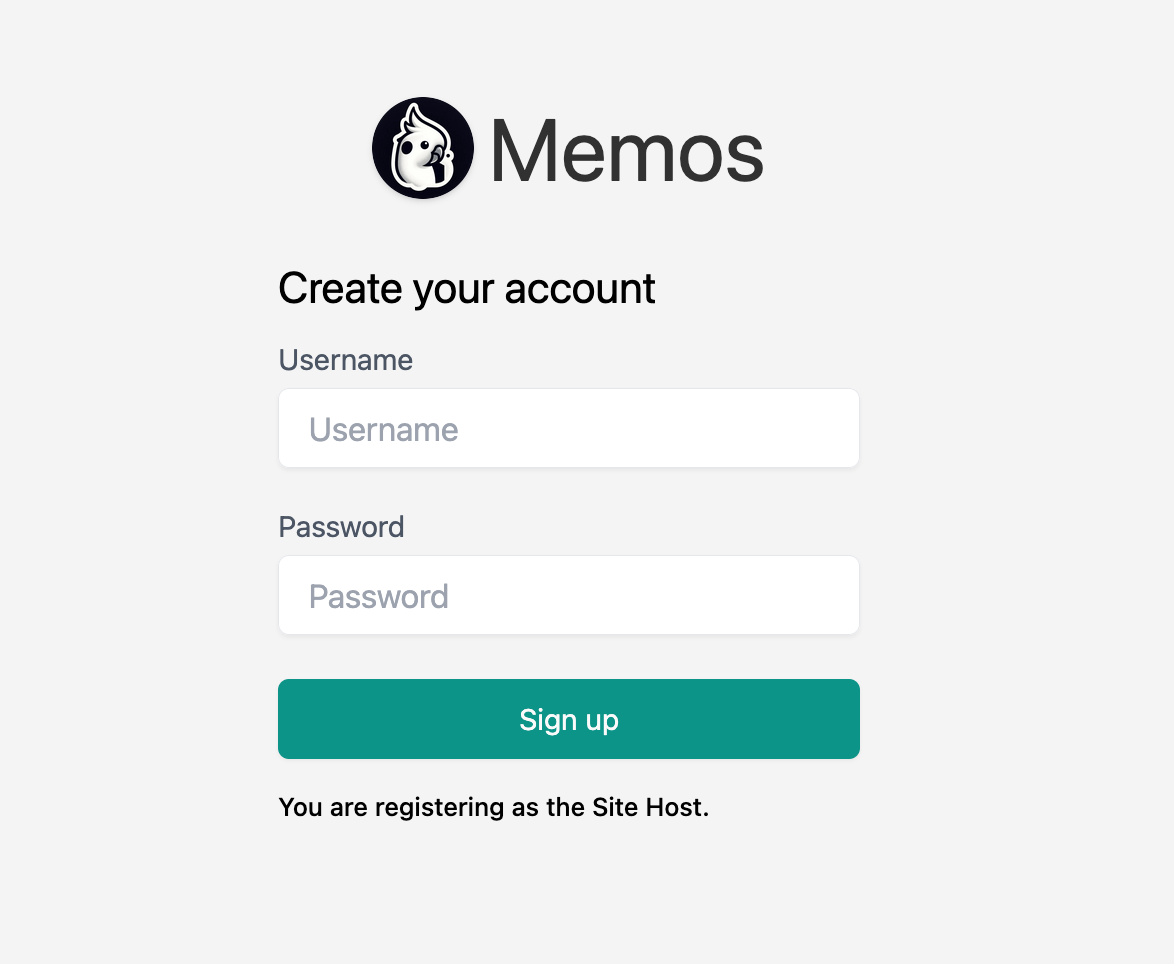
That’s the beauty of Docker. The same command works everywhere, whether it’s Linux, Windows, or macOS. No extra setup or environment-specific adjustments. Just run the container, and it works.
Closing Up
As you can see, with a single command, we have a very cool app up and running. If I decide I don’t like the app or no longer need it, I can simply remove it from the terminal using docker rm or directly from the Docker Desktop GUI.