In today's quick post, I'll walk you through installing NetBox on Docker. If you've been wanting to get NetBox up and running without getting lost in complex instructions, you're in the right place. I'll show you how straightforward it is to set it up with just a few commands. Before we dive in, I'm assuming you've got a basic understanding of Docker – mainly, how to install it and how to use Docker Compose. If you are new to Docker, feel free to check out my other docker introduction posts here.
Honestly, I'm not the best with Linux. Whenever I try to install any application the traditional way, following every step precisely, something usually goes wrong, and I end up having to start from scratch. That's why the Docker route is a game-changer for me. It simplifies the whole process, practically eliminating those frustrating do-overs. If you're nodding along, thinking you could use a simpler solution too, you're in the right place.
NetBox on Docker Overview
Here are the high-level steps to install NetBox on Docker, broken down into simple, manageable parts. Here is the official installation guide if you want to check it out.
- Install Docker and Docker Compose - Update your system and install Docker, then download and install Docker Compose.
- Clone the NetBox Docker Repository - Use Git to clone the NetBox Docker project from GitHub into your local environment.
- Create a Docker Compose Override File - Customize your NetBox installation by creating a
docker-compose.override.ymlfile, allowing you to specify certain configurations like the port mappings. - Start NetBox with Docker Compose - Use Docker Compose to bring up your NetBox instance, making it accessible via the specified port.
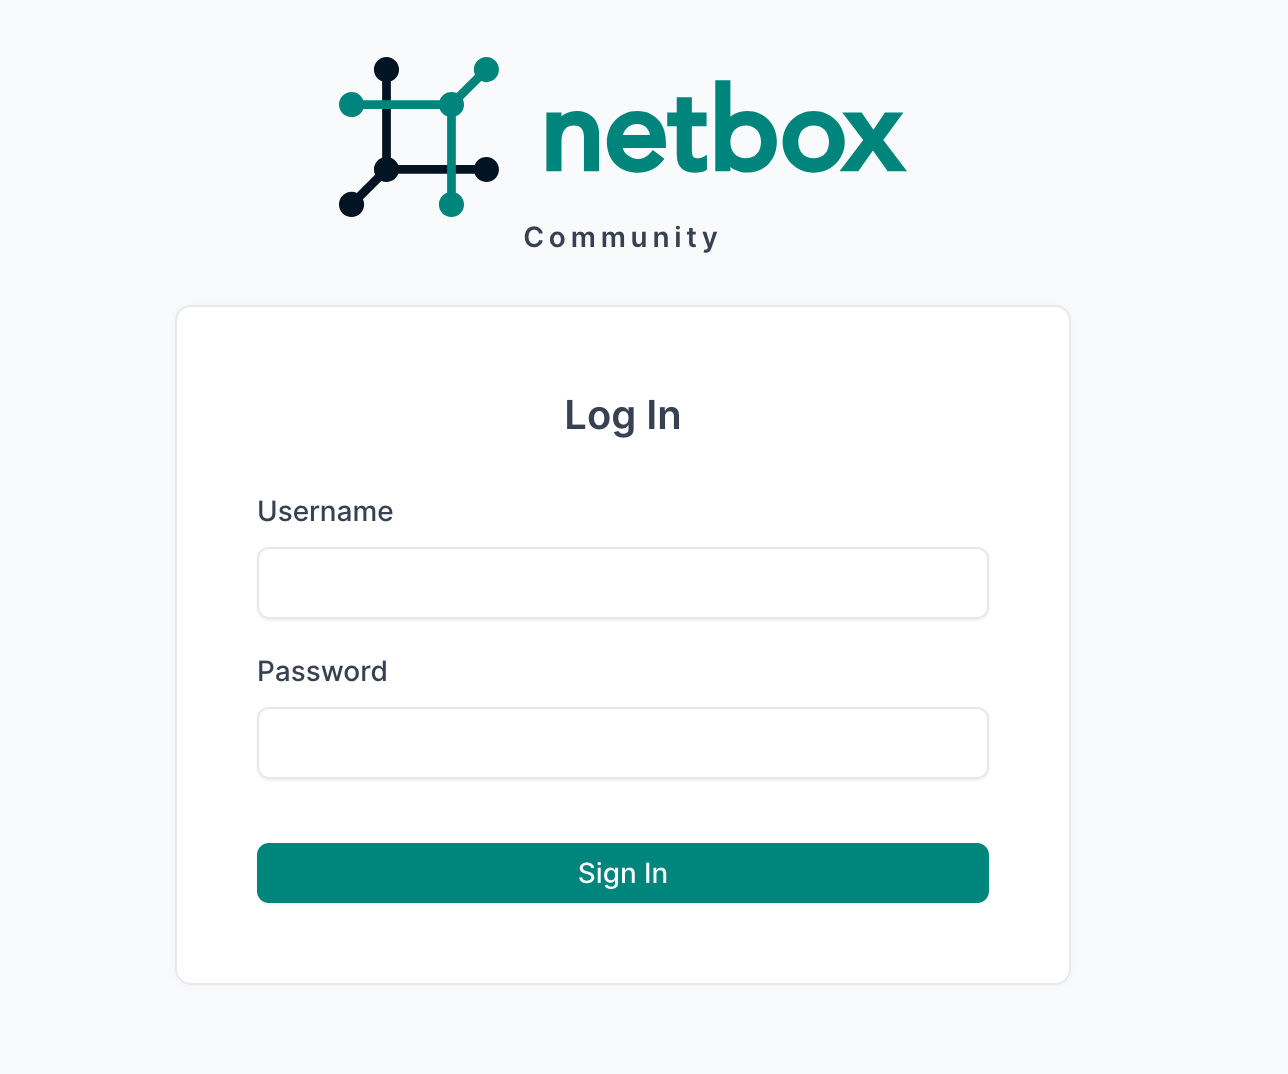
- Access NetBox Web Interface - Once NetBox is running, access its web interface through your browser to confirm it's up and operational.
- Create an Admin User - Finally, create an administrative user for NetBox, giving you the ability to manage the application fully.
What Exactly is Docker Compose?
Before we dive into the setup, let's quickly talk about Docker Compose. Essentially, Docker Compose is a tool that helps you define and run multi-container Docker applications. With it, you use a YAML file to configure your application's services, networks, and volumes. Then, with a single command, you create and start all the services from your configuration.
How to Install Docker?
You can get Docker up and running on your system pretty quickly. While there are a few ways to install Docker, using the official convenience script is the most straightforward. First, let's grab the script and run it.
curl -fsSL https://get.docker.com -o get-docker.sh
sudo sh get-docker.sh
Now for the post-installation steps. These commands let you run Docker without needing sudo every single time. This first command creates the docker user group.
sudo groupadd dockerThis next one adds your current user to that docker group.
sudo usermod -aG docker $USERFor the group changes to apply, you'll need to either reboot your system completely or log out and log back in. After you're back in, check that everything is working.
suresh@netbox:~$ docker version

Client: Docker Engine - Community
 Version:           28.3.0
 API version:       1.51
 Go version:        go1.24.4
 Git commit:        38b7060
 Built:             Tue Jun 24 15:44:12 2025
 OS/Arch:           linux/amd64
 Context:           default

Server: Docker Engine - Community
 Engine:
  Version:          28.3.0
  API version:      1.51 (minimum version 1.24)
  Go version:       go1.24.4
  Git commit:       265f709
  Built:            Tue Jun 24 15:44:12 2025
  OS/Arch:          linux/amd64
  Experimental:     false
 containerd:
  Version:          1.7.27
  GitCommit:        05044ec0a9a75232cad458027ca83437aae3f4da
 runc:
  Version:          1.2.5
  GitCommit:        v1.2.5-0-g59923ef
 docker-init:
  Version:          0.19.0
  GitCommit:        de40ad0
Docker Compose
With modern versions of Docker, docker-compose is now included as part of the Docker Engine and is available as docker compose (with a space).
You can check if it's working by listing your compose projects (it will likely be empty, but the command should run without an error).
docker compose lsIf the command works, you're all set and don't need to install it separately.
NetBox Install
The next step in setting up NetBox on Docker involves getting the NetBox Docker project from its GitHub repository and making a slight tweak to configure it for our needs. After cloning, you'll have a new directory called netbox-docker containing all the necessary Docker files for NetBox.
git clone https://github.com/netbox-community/netbox-docker

cd netbox-docker/
Next, create a docker-compose.override.yml file. This step allows you to customize the Docker Compose setup without altering the original docker-compose.yml file. You might use a text editor like vim (or any editor you're comfortable with) to create and edit this file.
vim docker-compose.override.ymlservices:
netbox:
ports:
- 8000:8080This configuration exposes NetBox on port 8000 of the host, mapping it to port 8080 of the NetBox container.
Finally, run docker compose up -d and you are all set. Wait for a few minutes for everything to come online and access NetBox GUI via http://<ip_address:8000
A Few Issues
When you run docker compose up -d for the first time, you might hit a couple of issues. You may see an error like this.
dependency failed to start: container netbox-docker-netbox-1 is unhealthyERROR: The Compose file './docker-compose.yml' is invalid because:
services.netbox-housekeeping.depends_on contains an invalid type, it should be an array
services.netbox-worker.depends_on contains an invalid type, it should be an array I had to wait a few minutes, but when I reran the exact same docker compose up -d command, everything worked perfectly. So if you see this, just give it another try. Keep that in mind.
Create an admin user
Once you've got NetBox up and running and can access the web interface, there's one more important step, creating an admin user. Before running the command to create an admin user, make sure you're in the right directory where your docker-compose files are located. The below command tells Docker Compose to execute a command inside the netbox service container.
docker-compose exec netbox /opt/netbox/netbox/manage.py createsuperuser

🧬 loaded config '/etc/netbox/config/configuration.py'
🧬 loaded config '/etc/netbox/config/extra.py'
🧬 loaded config '/etc/netbox/config/logging.py'
🧬 loaded config '/etc/netbox/config/plugins.py'
Username (leave blank to use 'unit'): admin
Email address:
Password:
Password (again):
Superuser created successfully.
That's all, and you should now be able to log in and explore.


