In today's blog post, we'll walk you through the steps for running the UniFi Controller as a Docker container. Whether you're using a Windows or MacOS laptop, or even a Raspberry Pi, this guide has got you covered. For the purpose of this example, we'll be using MacOS with Docker Desktop, but rest assured, the process is identical across other platforms. So let's dive in and simplify the process of managing your UniFi gear.
Why Docker?
In the world of managing UniFi equipment, there are a variety of paths you could take. You could opt for cloud management, which typically involves a monthly subscription. You could go for a local controller setup, or even install the controller directly on your laptop. These are all valid methods, but each comes with its own set of drawbacks. For example, if you decide to run it on your laptop, you'll need to keep that laptop running continuously.
Enter Docker, a solution that offers both convenience and efficiency. Docker enables you to run the UniFi Controller with minimal hassle and system resources. It's a particularly good option if you're looking to save on operational costs and energy usage—Docker can even run efficiently on a Raspberry Pi! With just a few simple commands.
Docker Basics
This blog post assumes you have some basic understanding of Docker. If you're completely new to it, don't worry—I've got you covered. I have a series of blog posts dedicated to Docker basics that can help you get up to speed.
 Suresh Vina
In the next section, we'll look at two methods for getting your UniFi Controller up and running in a Docker container. The first is by using the docker run command, and the second involves using docker-compose.
Option 1 - Docker Run
The docker run method is straightforward; it only requires you to enter a single command.
docker run -d -p 8443:8443 --name unifi linuxserver/unifi-controllerdocker run: This is the basic command that tells Docker to create and start a new container.-d: This flag tells Docker to run the container in detached mode, meaning the container will run in the background.-p 8443:8443: This part maps port 8443 on your host machine to port 8443 on the container. This is necessary for accessing the UniFi Controller interface.--name unifi: This gives the container a custom name, making it easier to manage.linuxserver/unifi-controller: This is the image that Docker will use to create the container. If this image is not already downloaded on your system, Docker will pull it from the image registry.
As soon as you run this command, Docker will pull the UniFi Controller image if it's not already on your machine, and then it will create and start the container. It's a quick and straightforward way to get your UniFi Controller operational.
➜ docker run -d -p 8443:8443 --name unifi linuxserver/unifi-controller
f796bdd3c4cbdee9c5d6c1acf815937637dfbd0f1feda503556773d9d2bab22a

➜ docker ps
CONTAINER ID   IMAGE                          COMMAND   CREATED         STATUS         PORTS                                                  NAMES
f796bdd3c4cb   linuxserver/unifi-controller   "/init"   4 seconds ago   Up 3 seconds   8080/tcp, 8843/tcp, 8880/tcp, 0.0.0.0:8443->8443/tcp   unifi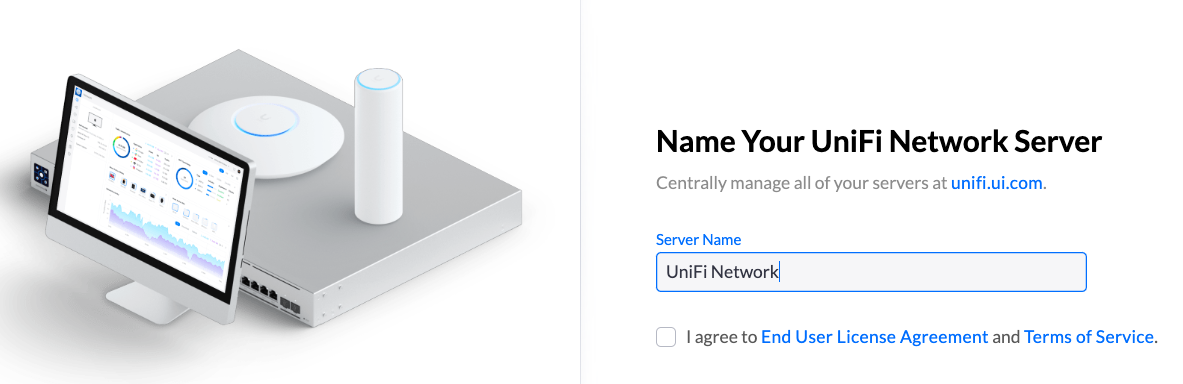
Now that you've run the command, all that's left is to check whether everything is working as it should. Open your web browser and navigate to https://localhost:8443. If everything went according to plan, the UniFi Controller login page should load, allowing you to manage your UniFi gear right from your browser. How easy was that? You've just set up a fully functioning UniFi Controller with a single command, and it's running in a Docker container on your own machine.
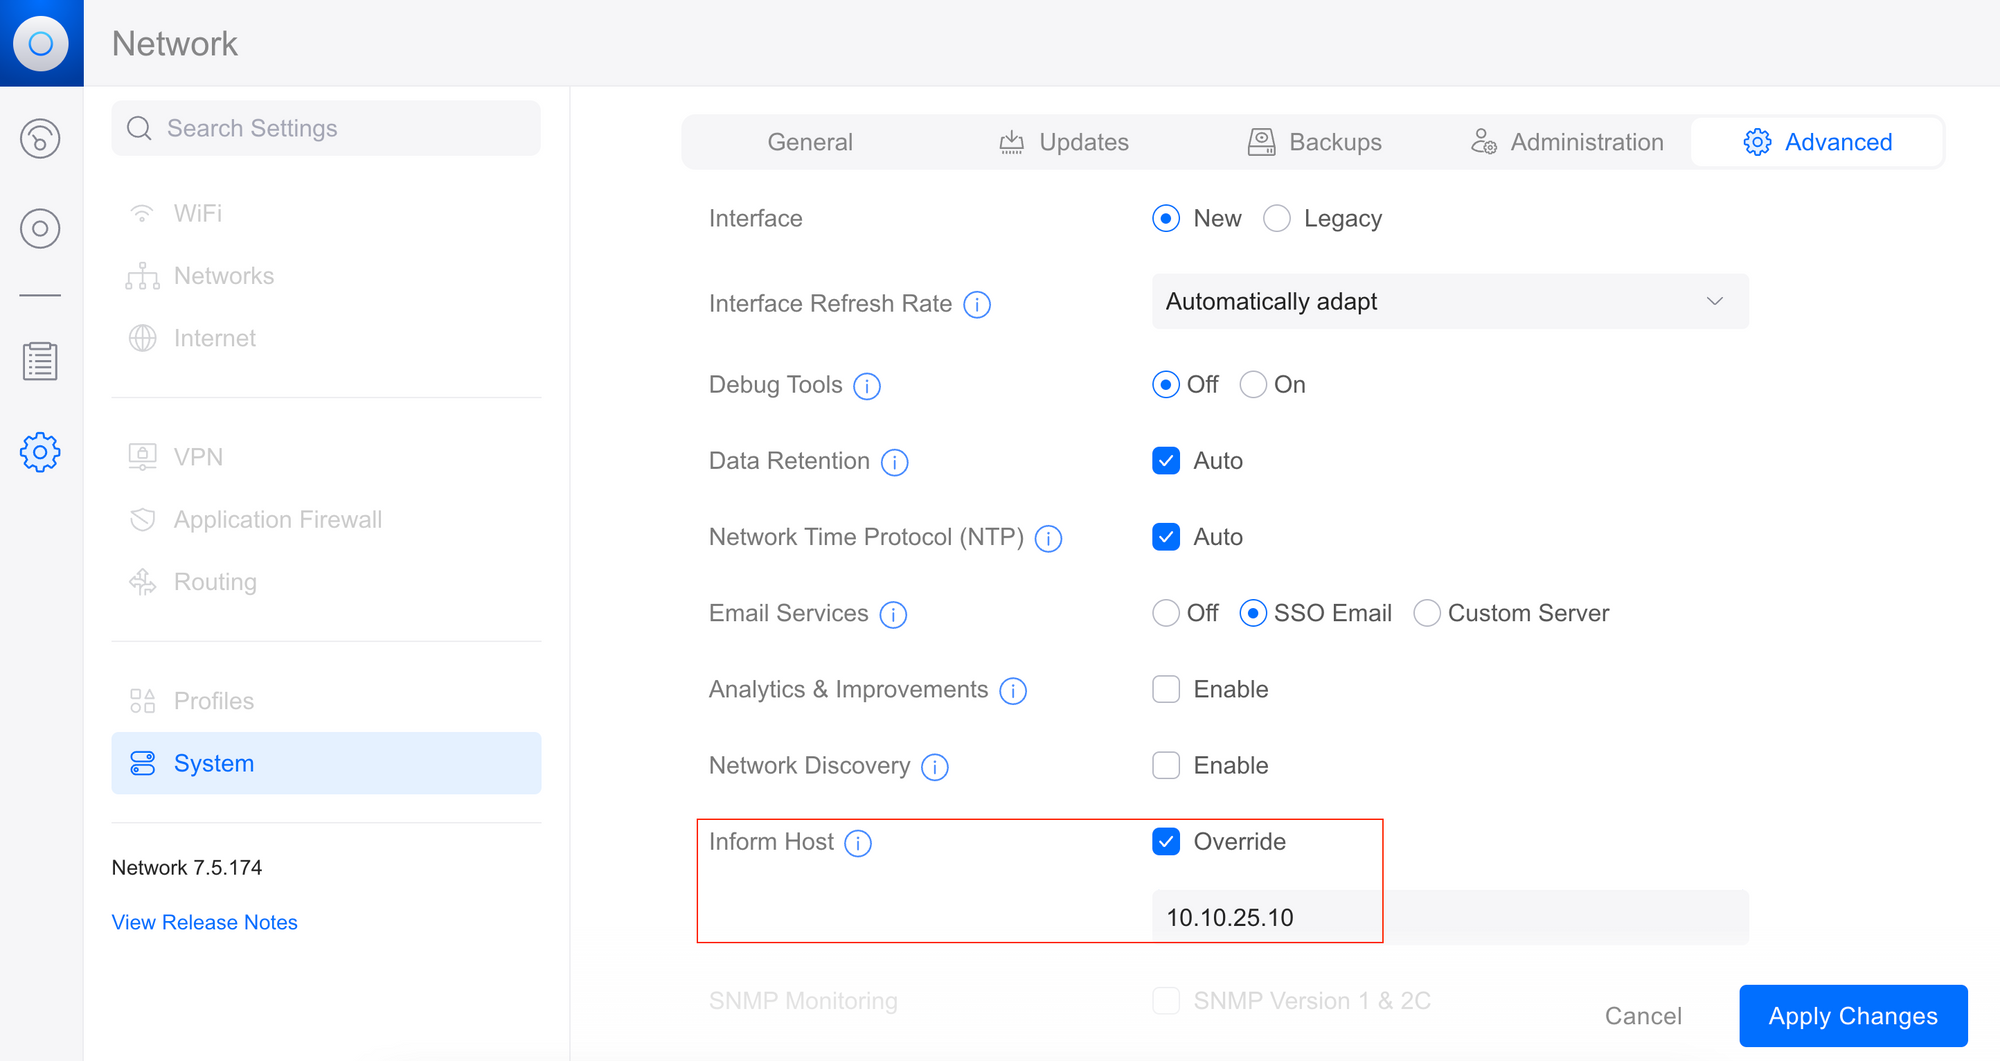
UniFi Inform Host
By default, the UniFi Controller in Docker uses bridge networking, so it might have a different IP than your Docker host subnet. To ensure devices can connect to it, set the inform host IP to your Docker host's IP address.
Option 2 - Docker Compose
Docker Compose is another way to get your UniFi Controller up and running. Unlike the first option where we used a single docker run command, Docker Compose allows you to use a docker-compose.yml file to define multiple settings and even run multiple containers at the same time, all with a single command. Think of it as a recipe book for Docker; you write down all the steps and ingredients, and then let Docker Compose do the cooking for you.
Using Docker Compose can make it easier to manage complex setups. For instance, if you need to link your UniFi Controller with other services or databases, a docker-compose.yml file can manage all of that in one place. You simply run docker-compose up, and it takes care of pulling the images and starting the containers just like the docker run command, but in a more organized way.
Compose File
---
version: "2.1"
services:
  unifi-controller:
    image: lscr.io/linuxserver/unifi-controller:latest
    container_name: unifi-controller
    environment:
      - PUID=1000
      - PGID=1000
      - TZ=Etc/UTC
      - MEM_LIMIT=1024 #optional
      - MEM_STARTUP=1024 #optional
    volumes:
      - /Users/suresh/Documents/unifi:/config
    ports:
      - 8443:8443
      - 3478:3478/udp
      - 10001:10001/udp
      - 8080:8080
      - 1900:1900/udp #optional
      - 8843:8843 #optional
      - 8880:8880 #optional
      - 6789:6789 #optional
      - 5514:5514/udp #optional
    restart: unless-stopped
In the docker-compose.yml file for running the UniFi Controller, several settings are defined to configure the Docker container. You can obtain the latest compose file navigating to https://hub.docker.com/r/linuxserver/unifi-controller
The container is given the name unifi-controller and is set to restart automatically unless manually stopped.
Environment variables like the User ID (PUID), Group ID (PGID), and Time Zone (TZ) are set. Additionally, optional memory limits can be set for the container using MEM_LIMIT and MEM_STARTUP.
For data persistence, a volume is mounted from the host machine's directory (/Users/suresh/Documents/unifi) to the container's /config directory. This ensures that your configuration and data remain intact even if the container is stopped or deleted.
Various network ports are exposed and mapped between the host and the container, including the essential 8443 port for HTTPS access to the UniFi Controller interface. Additional ports and UDP ports are specified for other functionalities and services the controller might need to communicate with.
Overall, this docker-compose.yml file encapsulates all the settings, volumes, and port mappings required to run the UniFi Controller in a Docker container, making it a one-stop solution for deployment.
Docker Compose Up
To deploy the UniFi Controller using Docker Compose, execute the following command in the directory where your docker-compose.yml file resides.
docker compose up -dUpon executing the command, Docker Compose will pull the specified image from the repository if it doesn't exist locally. After that, it will create the necessary network and start the container as defined in the docker-compose.yml file. In the output, you'll see the statuses of these operations, confirming that the unifi-controller container has been successfully started.
➜ docker compose up -d
[+] Running 1/1
 ✔ unifi-controller Pulled                                                                                                                                                                         1.5s
[+] Running 2/2
 ✔ Network docker_unifi_default  Created                                                                                                                                                           0.0s
 ✔ Container unifi-controller    Started                                                                                                                                                           0.4s
Persistent Data
Using Volumes in your Docker setup is crucial for data persistence. When Docker containers are removed, any changes made inside the container are lost. By mapping volumes from your host system to the container, you ensure that data like configuration files, databases, and logs are saved and can be reused when you start a new container.
In the case of our UniFi Controller setup, using volumes means your configurations, device information, and other settings remain intact even if the container is deleted. If you skip defining volumes, you'll lose all these settings and would need to reconfigure your UniFi Controller every time you bring up a new container.
Conclusion
In conclusion, using Docker to run the UniFi Controller offers a streamlined and efficient way to manage your UniFi gear. Whether you're a macOS, Windows, or Raspberry Pi user, Docker provides a unified experience across platforms.
You have the flexibility of deploying the controller with a single docker run command or through a more configurable docker-compose file. Both methods are quick and require only a few commands to get up and running. By leveraging Docker, you can create a reliable UniFi management system without the overhead of dedicated hardware or ongoing subscription costs. Feel free to share your thoughts or ask questions in the comments.