At the moment, most of my documents are stored in Google Drive and locally on my machine. Whenever I need something, I go to Google Drive, search for it, and download it. While this works well, with all the concerns around privacy and data usage, I’d prefer to keep my documents locally rather than relying on cloud providers.
Recently, I came across a great self-hosted document manager called 'Paperless-NGX'. It not only helps with organising documents but also includes OCR functionality, allowing me to search within the documents themselves.
In this blog post, we'll go through how to set it up in a local environment and also cover how to put it behind the Caddy reverse proxy.
Paperless-NGX Installation with Docker
Paperless-NGX is a self-hosted document management system that helps organize and search documents easily. It comes with built-in OCR, allowing you to search within scanned documents and PDFs. One of the easiest ways to install Paperless-NGX is using Docker.
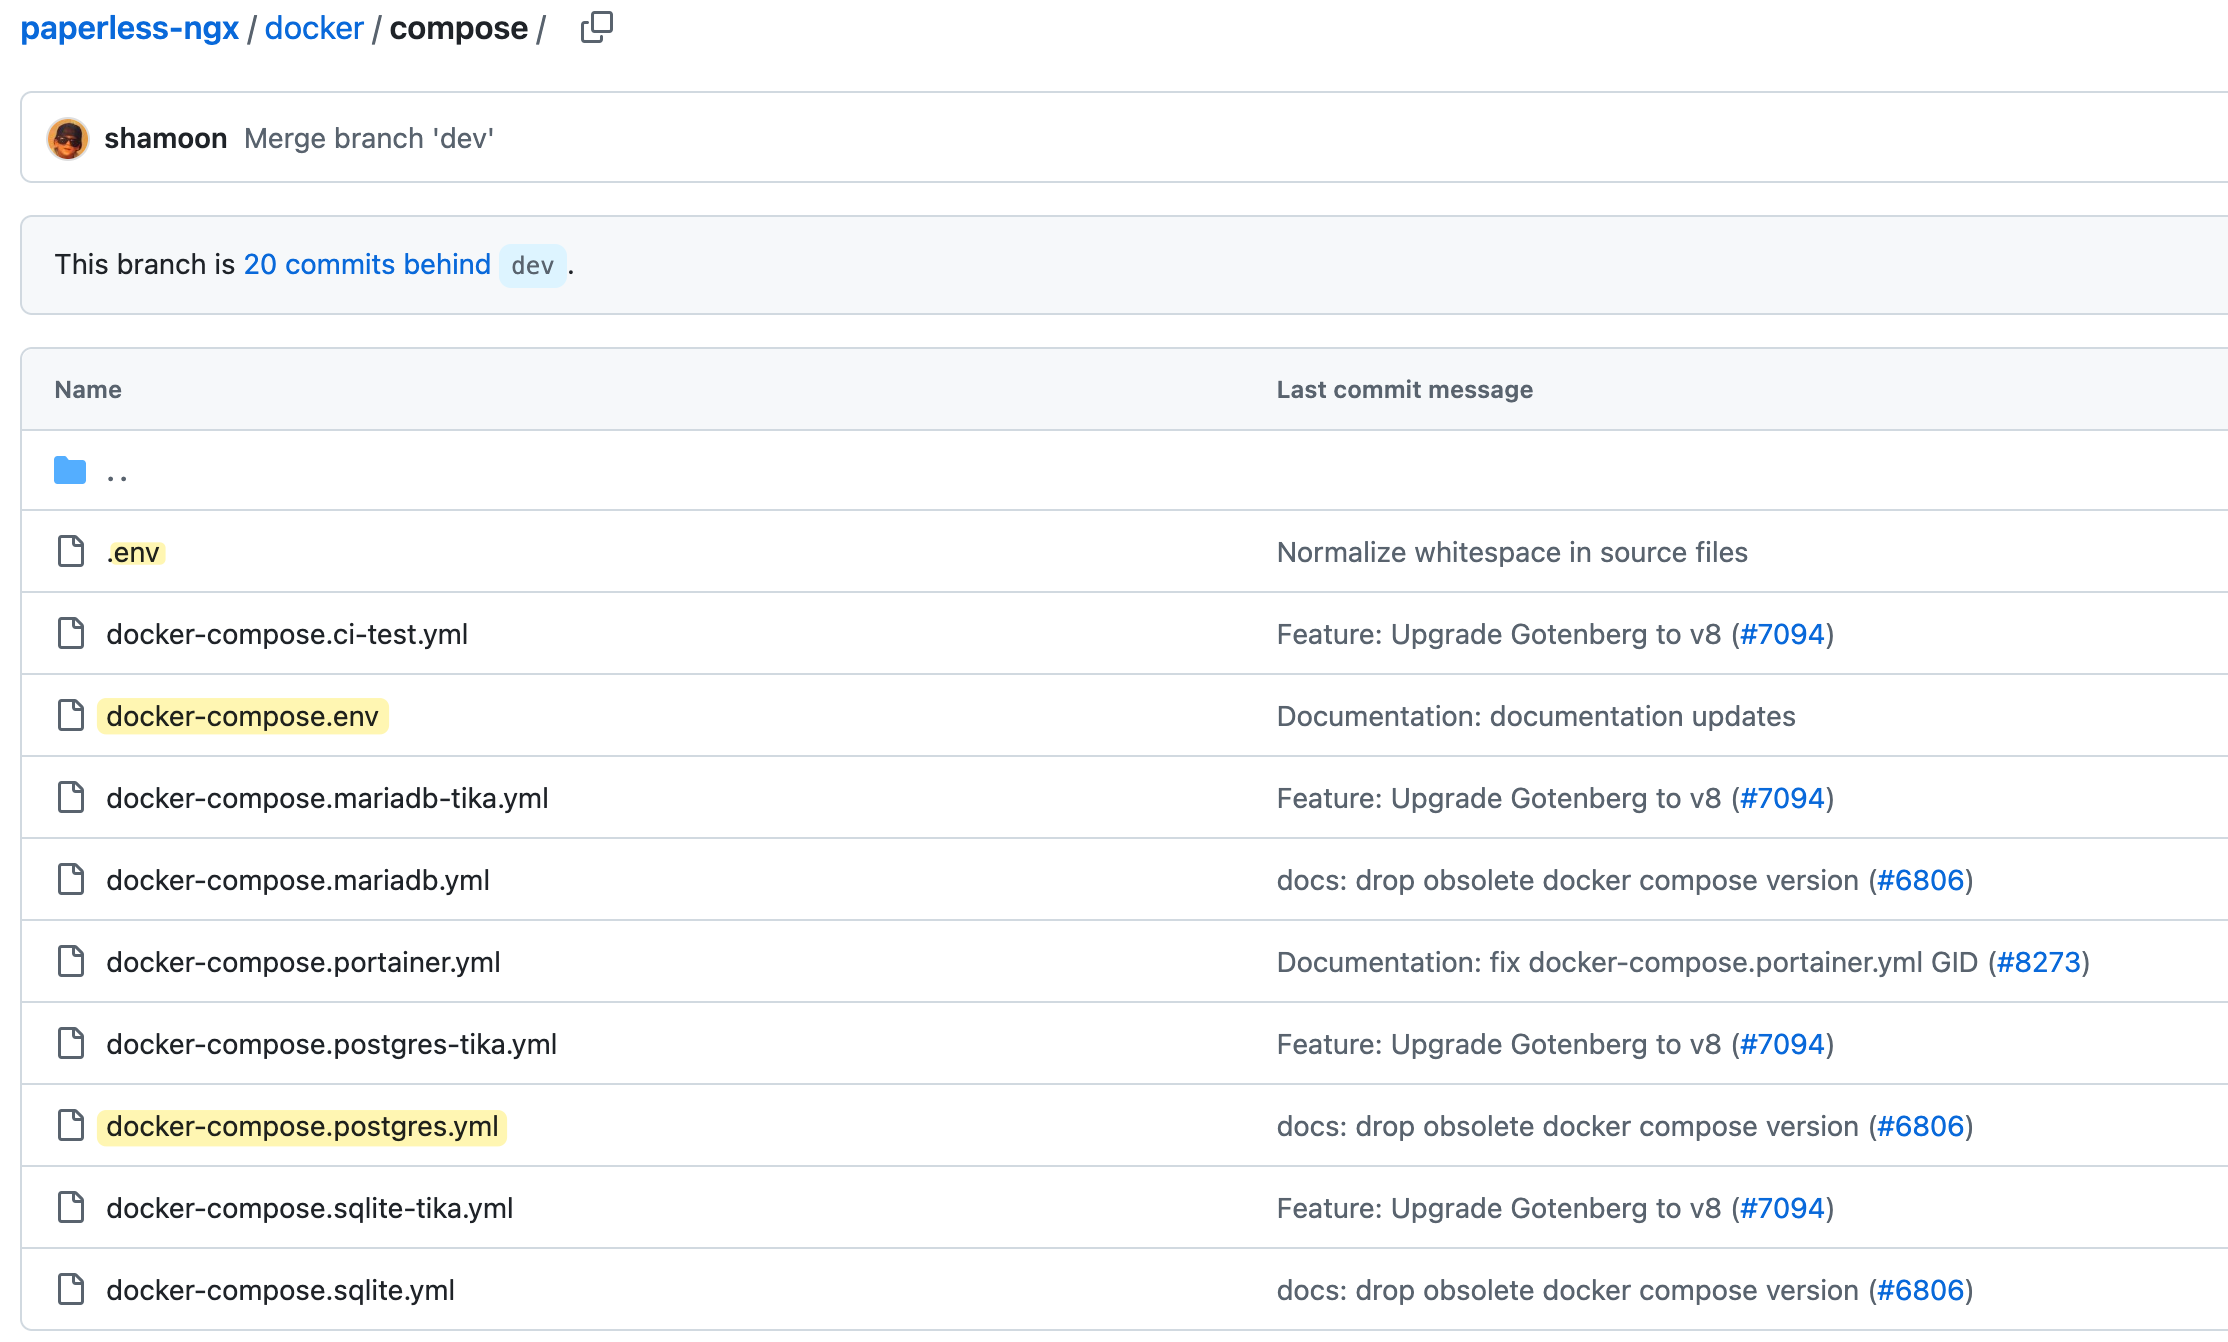
I went through the official documentation to set this up using Docker Compose. Go to the GitHub page and download one of the docker-compose.*.yml files, depending on which database backend you want to use. I went with the Postgres database.
Place the files in a local directory and rename the file to docker-compose.yml. Download the docker-compose.env file and the .env file as well, and place them in the same directory.
The official guide uses Docker volumes, but I changed it to use a bind mount, which I prefer. It makes it easier to move the containers between different hosts, but you can stick with volumes if you prefer.
services:
  broker:
    image: docker.io/library/redis:7
    restart: unless-stopped
    volumes:
      - ./paperless/redisdata:/data

  db:
    image: docker.io/library/postgres:16
    restart: unless-stopped
    volumes:
      - ./paperless/pgdata:/var/lib/postgresql/data
    environment:
      POSTGRES_DB: paperless
      POSTGRES_USER: paperless
      POSTGRES_PASSWORD: paperless

  webserver:
    image: ghcr.io/paperless-ngx/paperless-ngx:2.14.7
    restart: unless-stopped
    depends_on:
      - db
      - broker
    ports:
      - "8000:8000"
    volumes:
      - ./paperless/data:/usr/src/paperless/data
      - ./paperless/media:/usr/src/paperless/media
      - ./paperless/export:/usr/src/paperless/export
      - ./paperless/consume:/usr/src/paperless/consume
    env_file: paperless/docker-compose.env
    environment:
      PAPERLESS_REDIS: redis://broker:6379
      PAPERLESS_DBHOST: db
I didn’t make any changes to the .env file and left it as it is.
COMPOSE_PROJECT_NAME=paperlessIn the docker-compose.env file, I changed the PAPERLESS_SECRET_KEY, PAPERLESS_TIME_ZONE, and PAPERLESS_URL. I’ll explain PAPERLESS_URL later.
###############################################################################
# Paperless-ngx settings                                                      #
###############################################################################

# See http://docs.paperless-ngx.com/configuration/ for all available options.

# The UID and GID of the user used to run paperless in the container. Set this
# to your UID and GID on the host so that you have write access to the
# consumption directory.
USERMAP_UID=1000
USERMAP_GID=1000

# See the documentation linked above for all options. A few commonly adjusted settings
# are provided below.

# This is required if you will be exposing Paperless-ngx on a public domain
# (if doing so please consider security measures such as reverse proxy)
PAPERLESS_URL=https://paperless.packet.lan

# Adjust this key if you plan to make paperless available publicly. It should
# be a very long sequence of random characters. You don't need to remember it.
PAPERLESS_SECRET_KEY=HIDDEN

# Use this variable to set a timezone for the Paperless Docker containers. Defaults to UTC.
PAPERLESS_TIME_ZONE=Europe/London

# The default language to use for OCR. Set this to the language most of your
# documents are written in.
PAPERLESS_OCR_LANGUAGE=eng

# Additional languages to install for text recognition, separated by a whitespace.
# Note that this is different from PAPERLESS_OCR_LANGUAGE (default=eng), which defines
# the language used for OCR.
# The container installs English, German, Italian, Spanish and French by default.
# See https://packages.debian.org/search?keywords=tesseract-ocr-&searchon=names&suite=buster
# for available languages.
#PAPERLESS_OCR_LANGUAGES=tur ces
Now that everything is ready, just run docker compose up -d, and the services will start.
You can browse to http://localhost:8000, create a local account, and sign in. It's as simple as that. You can start uploading documents, creating tags, and even searching for text inside the documents.
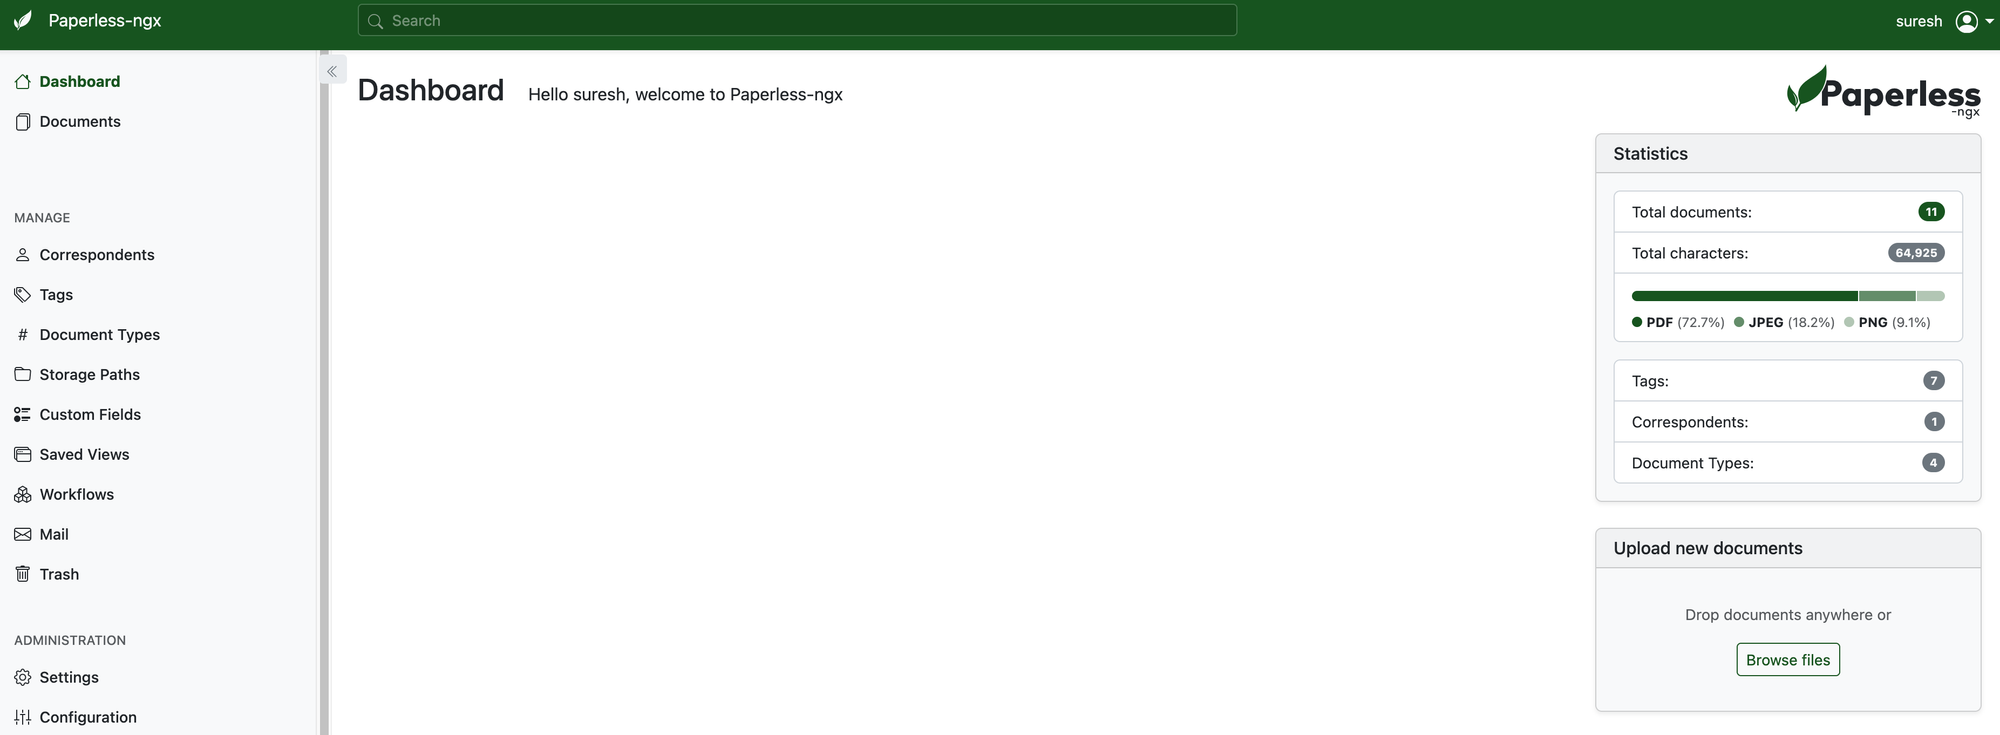
As I mentioned before, one of the best features is the ability to search through the content of files, thanks to the OCR functionality. For example, I uploaded my broadband/TV contract. Let’s say I don’t remember the file name, but I know 'Sky Sports' is mentioned in the contract. I can simply search for it, and Paperless-NGX will find the document for me.
Another key benefit is that everything happens locally—there’s no need to sign into the cloud or expose my private data.
Caddy Reverse Proxy
I use Caddy as a reverse proxy, so I updated the Caddyfile to include Paperless. I was able to reach the login page, but after logging in, I got the error:
"Forbidden (403) CSRF verification failed. Request aborted."
This happens because Paperless-NGX uses the PAPERLESS_URL setting to validate requests, including CSRF protection. If the PAPERLESS_URL does not match the actual URL used to access the service, the CSRF check will fail, blocking the request.
To fix this, I updated the PAPERLESS_URL in the docker-compose.env file to match the URL I use with the reverse proxy. Here’s the Caddy configuration snippet
paperless.packet.lan {
    tls internal
    reverse_proxy webserver:8000
    log {
        format console
        output file /logs/paperless.log {
            roll_size 10mb
            roll_keep 20
            roll_keep_for 7d
        }
    }
    encode {
        zstd
        gzip
        minimum_length 1024
    }
}