For the past few years, I’ve been running all my virtual machines on VMware Workstation Pro, installed on Windows 11. While it worked well for the most part, there were a few recurring issues. Windows would occasionally reboot to install updates, and when it did, my VMs would go down with it. This dependency on Windows to keep my VMs running became frustrating. Recently, I switched to Proxmox, a type-1 hypervisor, and the difference has been night and day.
In this blog post, we'll go through how to install Cisco CML (specifically CML 2.8 Free Tier) on Proxmox. If you're looking to install Cisco CML on VMware Workstation, check out my other blog post linked below.

As always, if you find this post helpful, press the ‘clap’ button on the left. It means a lot to me and helps me know you enjoy this type of content.
Nested Virtualization
Nested virtualization allows you to run virtual machines inside another virtual machine. Essentially, it enables a hypervisor to be run within a virtualised environment, which is a requirement for platforms like Cisco CML that simulate network devices within a VM.
To check if nested virtualization is enabled on your Proxmox server, you can run the following command.
root@proxmox-01:~# cat /sys/module/kvm_intel/parameters/nested
Y
If the output is Y, nested virtualization is enabled. If it’s N, it means it’s not enabled. As EVE-NG relies on nested virtualization support, it’s important to ensure this feature is enabled.
If nested virtualization is not enabled, I recommend following the official Proxmox guide to enable it. Here is a quick summary of how to enable nested virtualization on Proxmox.
For Intel CPUs
echo "options kvm-intel nested=Y" > /etc/modprobe.d/kvm-intel.conf
For AMD CPUs (note the 1 instead of Y):
echo "options kvm-amd nested=1" > /etc/modprobe.d/kvm-amd.conf
Reboot the server or reload the kernel module
modprobe -r kvm_intel
modprobe kvm_intel
You can check again and make sure it is now enabled.
root@proxmox:~# cat /sys/module/kvm_intel/parameters/nested
Y

Download the Cisco CML Image
Head over to the Cisco download page and select CML (2.8 Free Tier). You need a Cisco account, which is easy to create. Once you create the account and log in, download the highlighted ISO image.
You'll also need to download the 'reference image ISO file,' which contains all the node images, such as IOS, ASA, Ubuntu, etc. So, make sure to download both of these files.
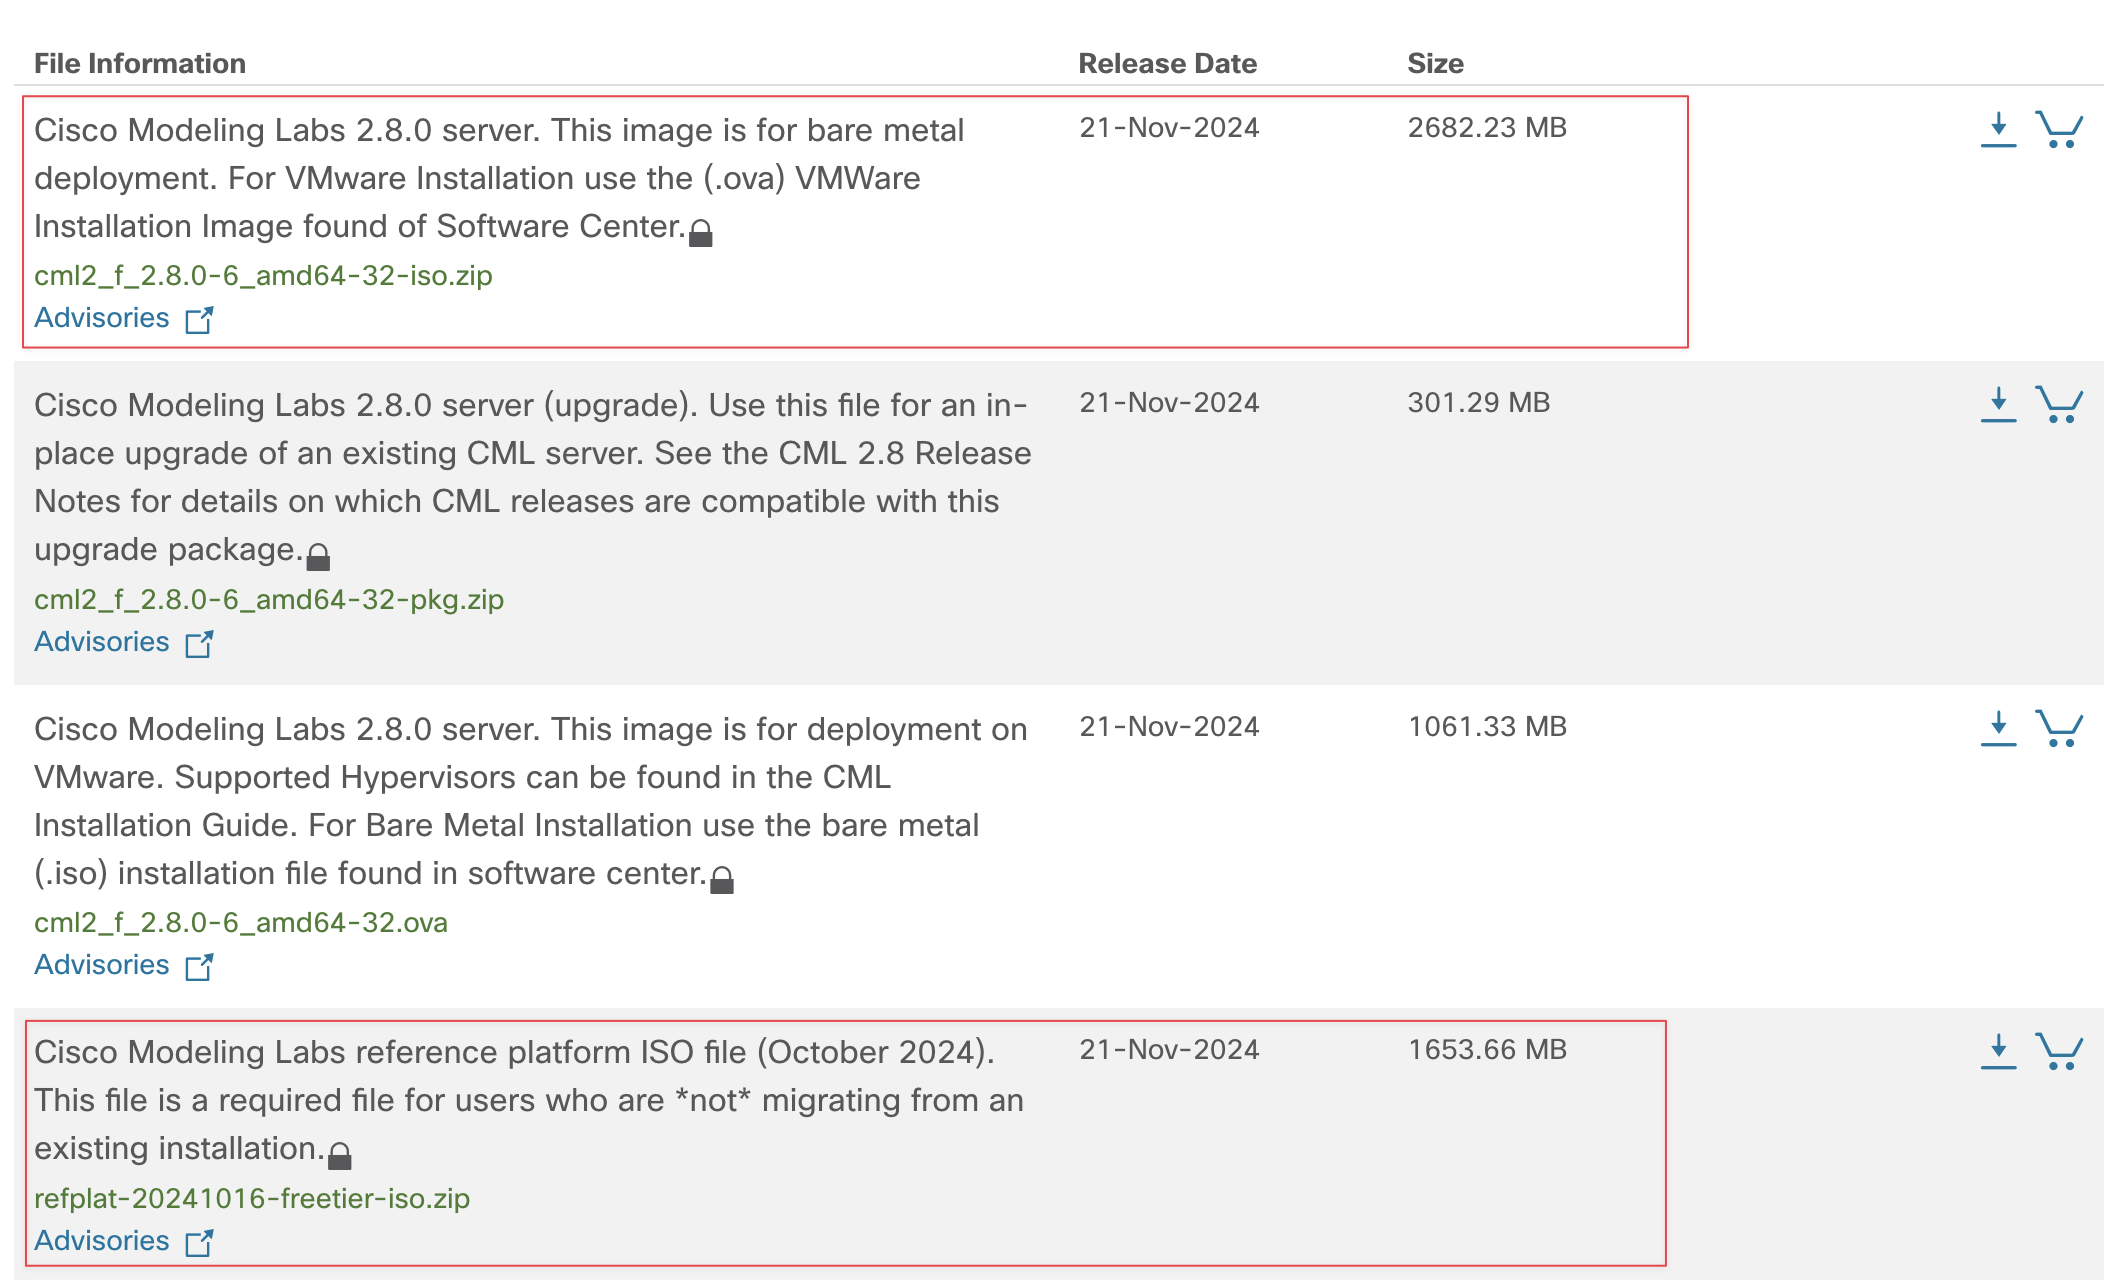
Extract the two zip files and you will end up with two folders containing the ISO files we need for the next steps.
Proxmox Configuration
On the Proxmox side, the process is similar to creating any other VM. However, make sure to set the VM type to 'host' under the CPU tab, as this enables nested virtualization.
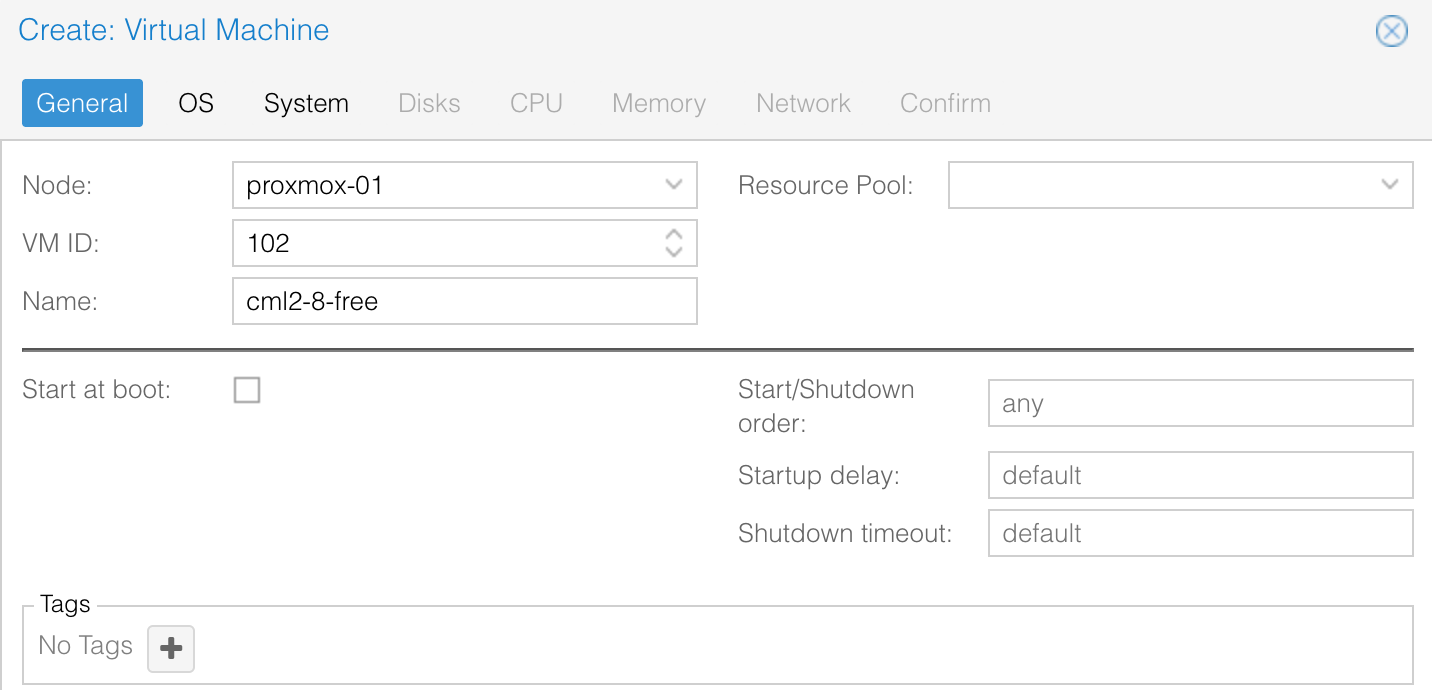
Here the name of the ISO file you need to choose is cml2_2.8.0-6_amd64-32.iso

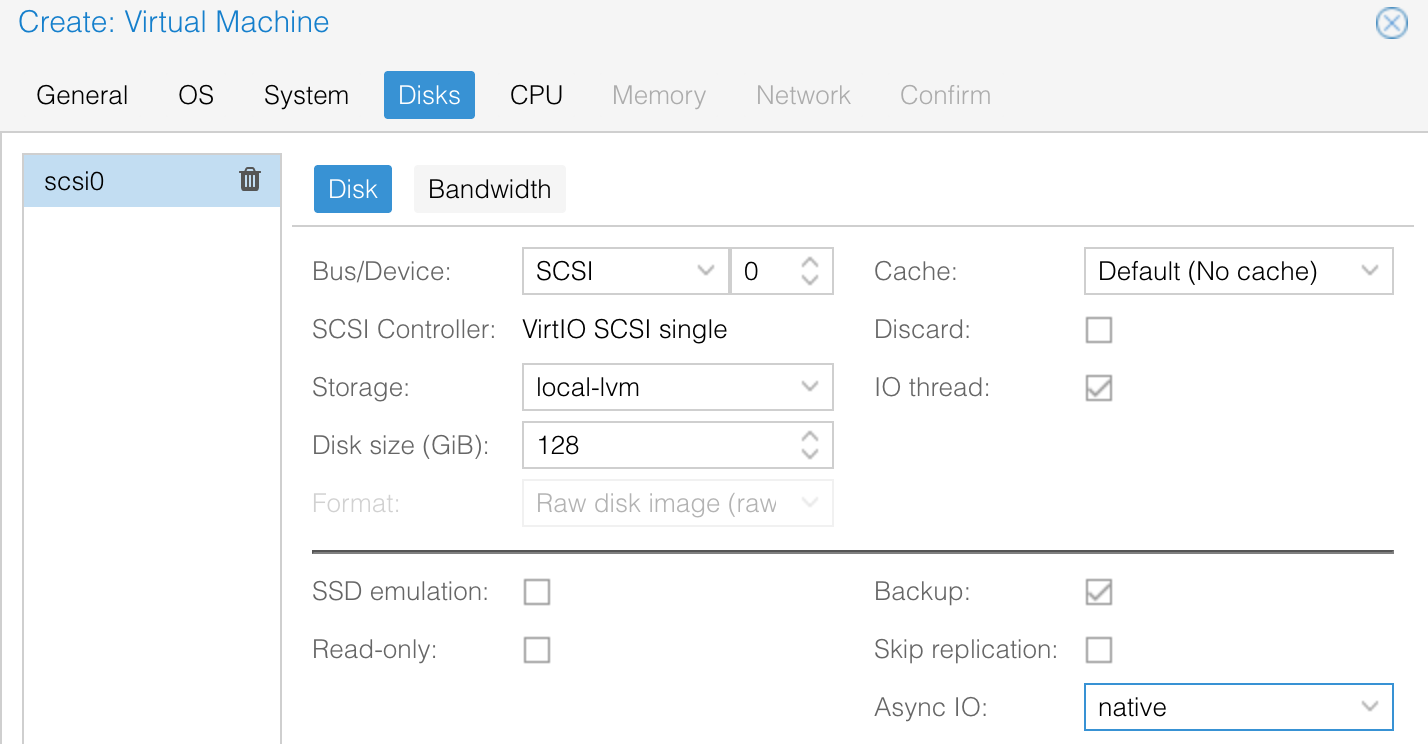
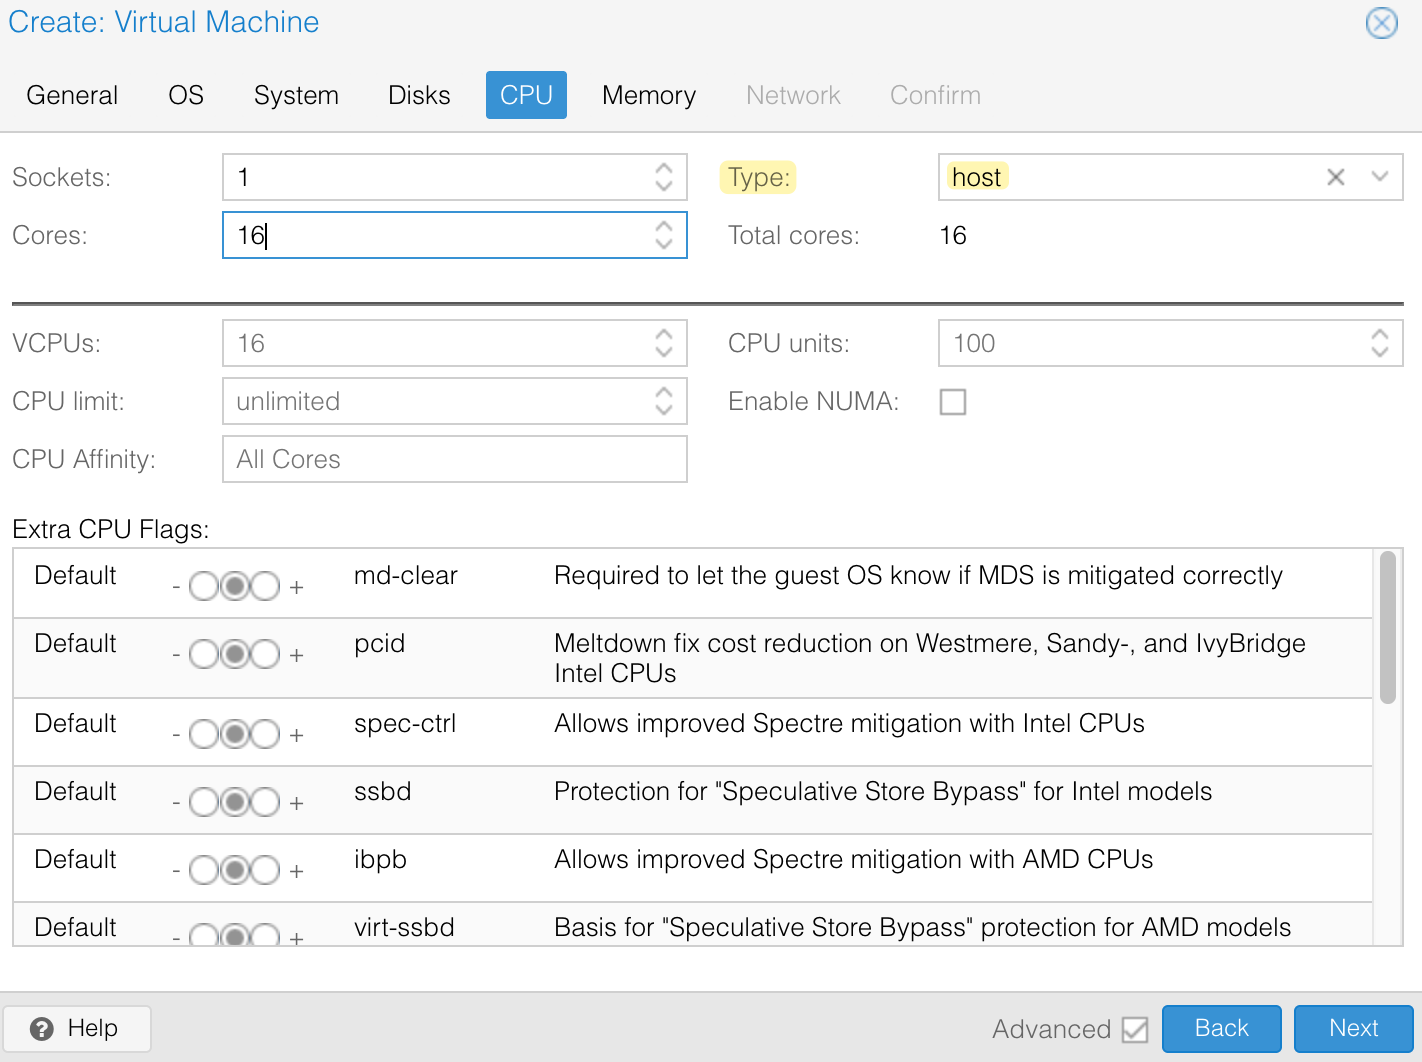
I'm allocating 32GB of RAM but for smaller labs 16GB or even 8GB should be enough.

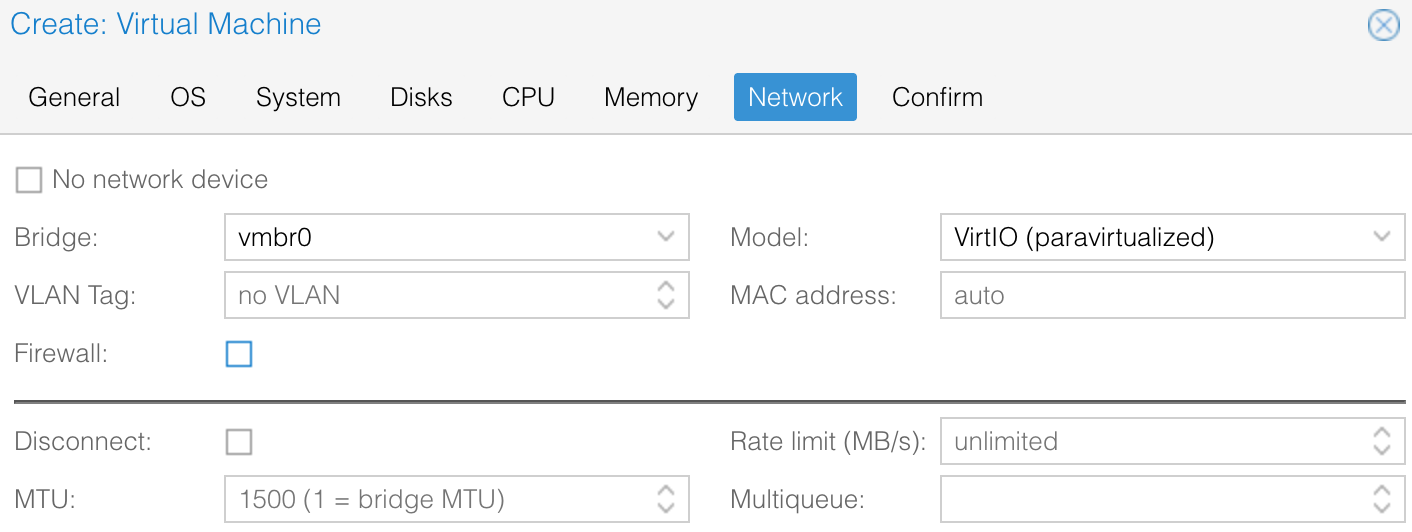
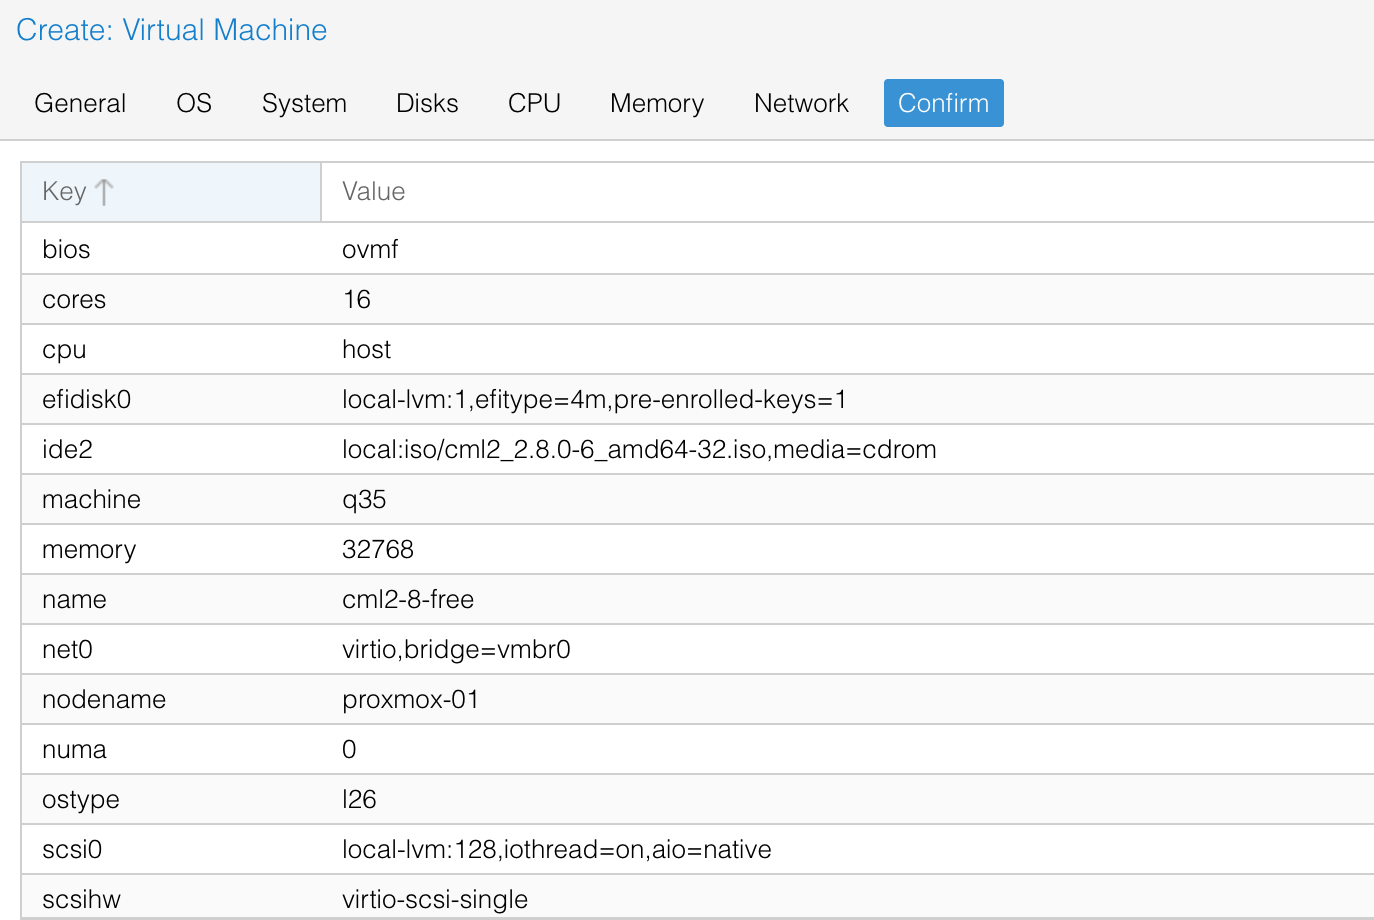
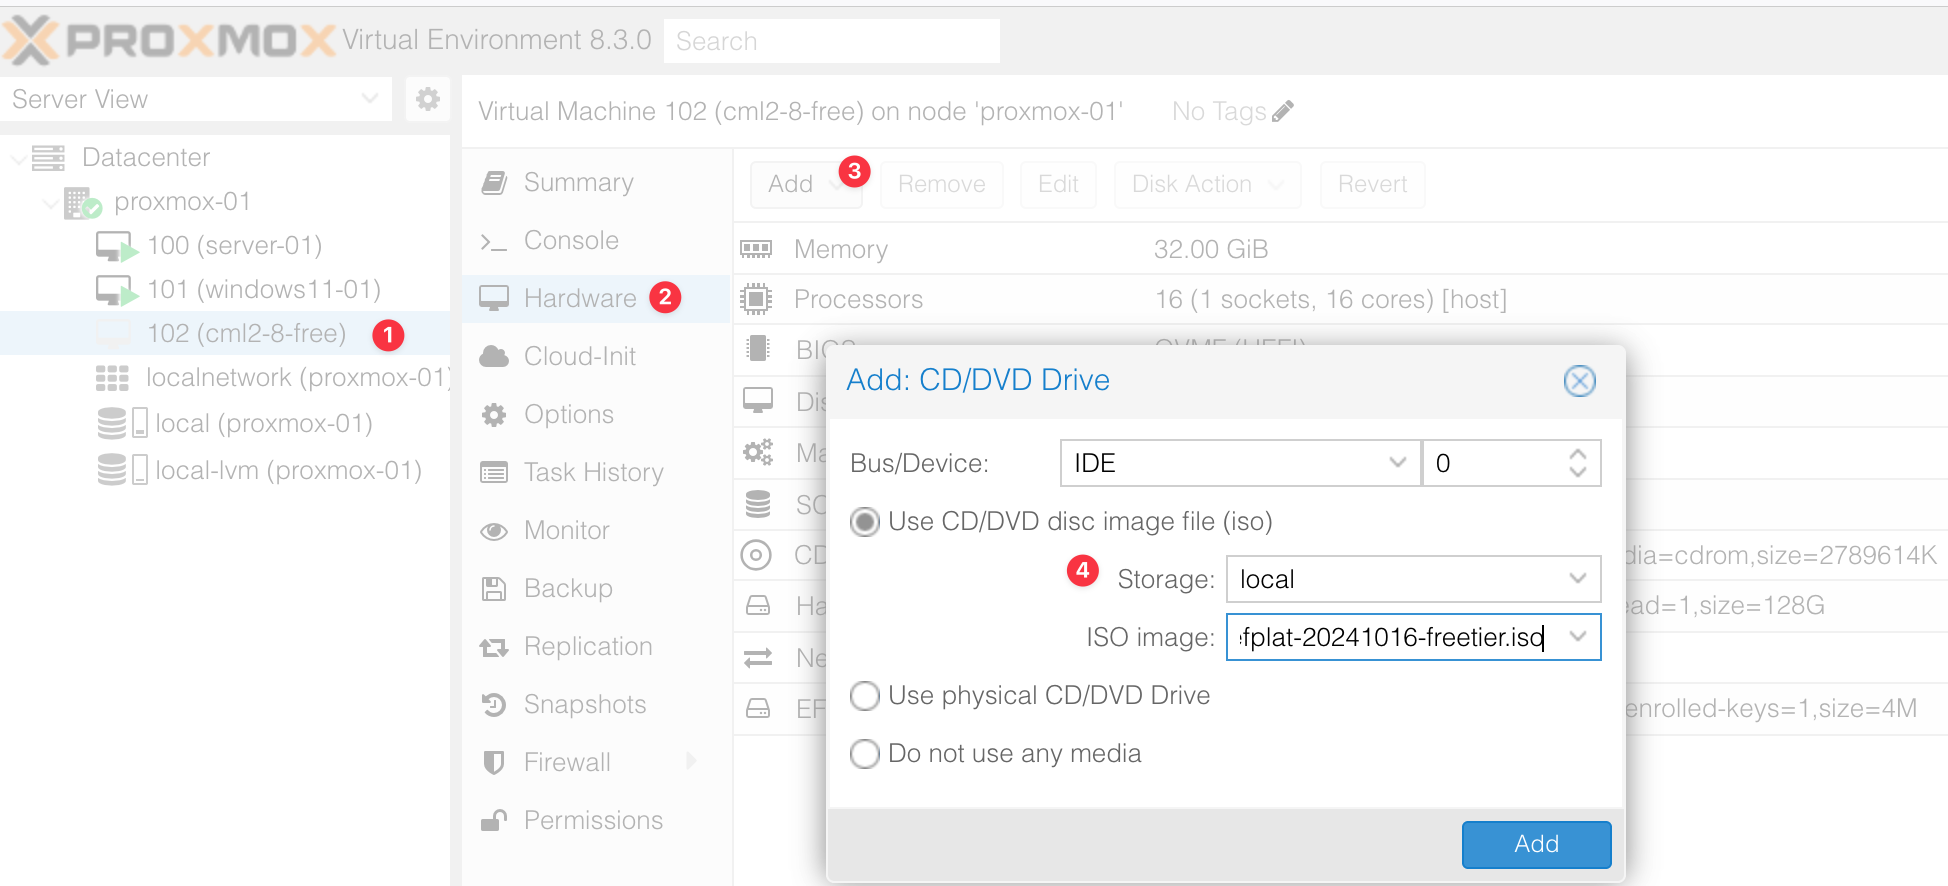
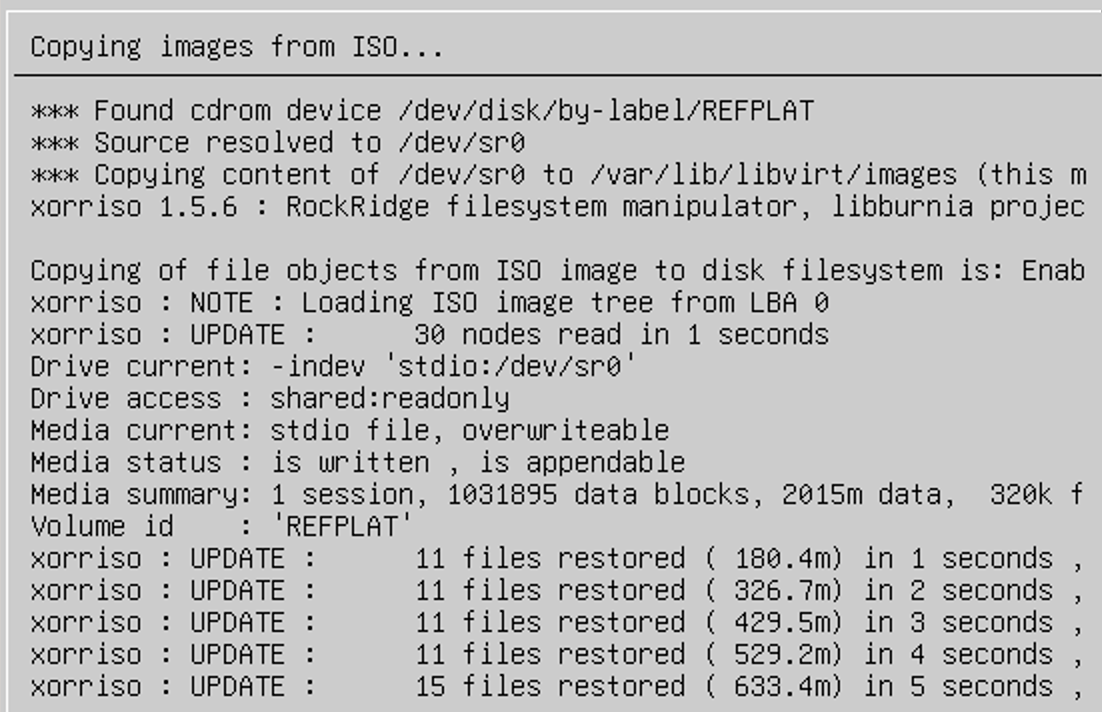
Once you've created the VM, before powering it on, go to Add > CD/DVD Drive and select the REFPLAT ISO file you downloaded. This file contains the node images needed for Cisco CML.
Starting the VM and Initial Setup
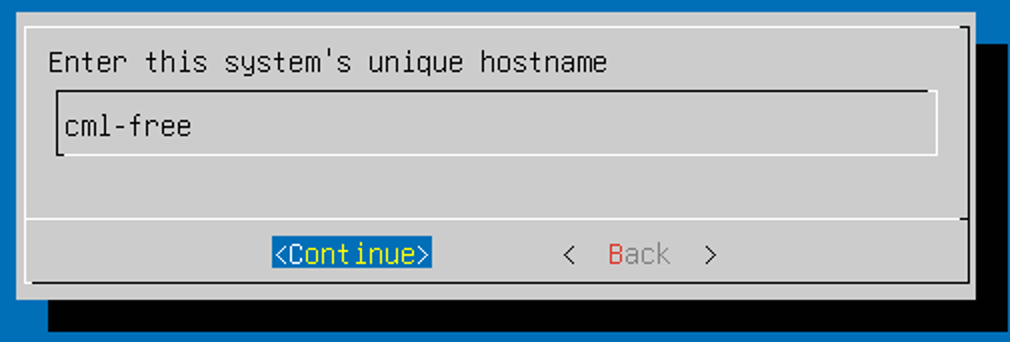
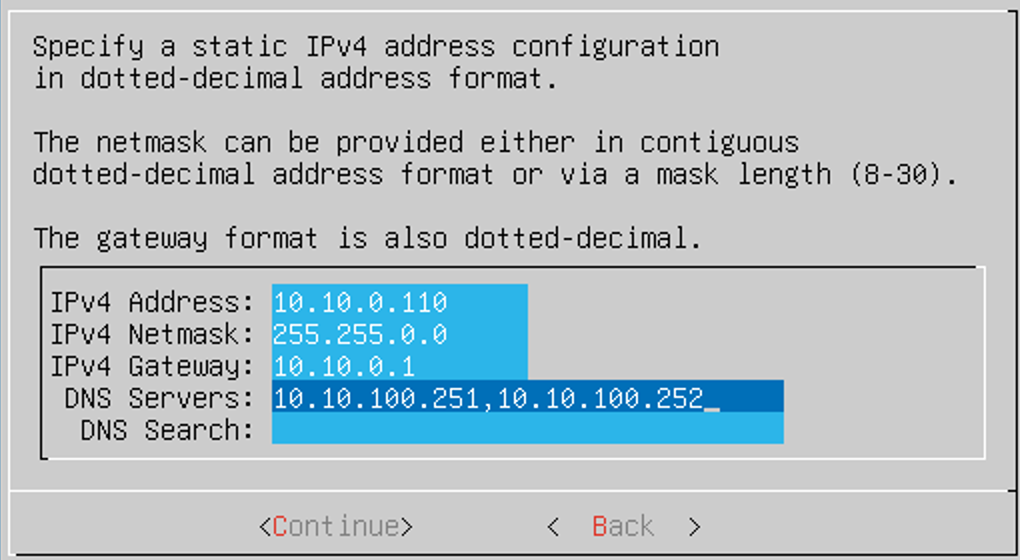
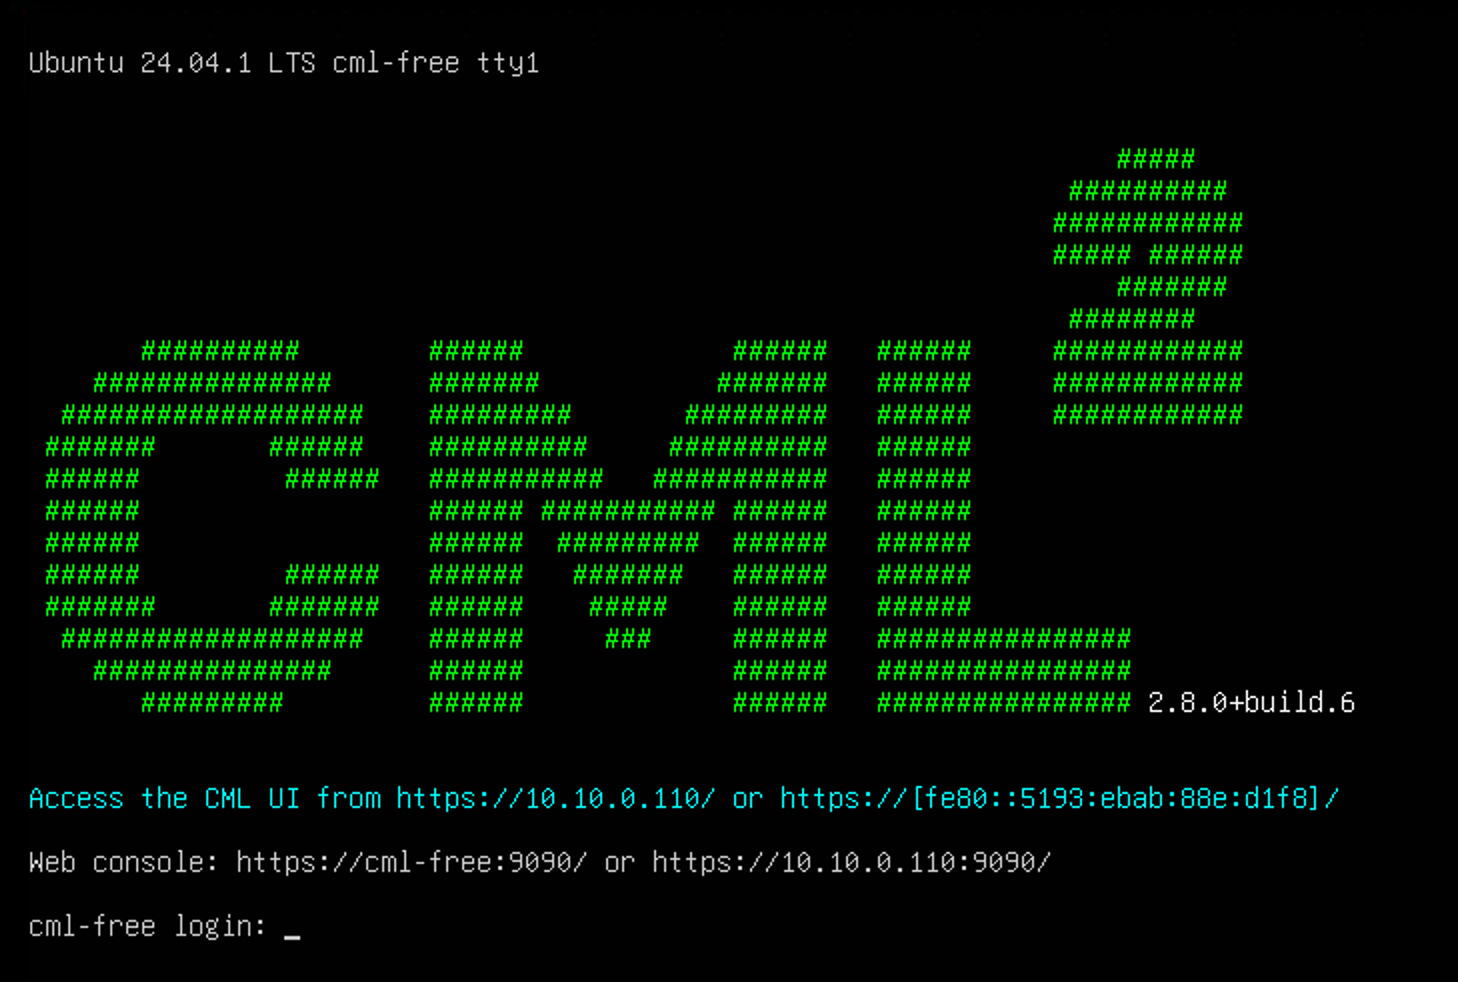
That's it, now you can start the VM. The installation is straightforward, just follow the prompts, and you’ll be done. It took me just under 10 minutes to complete.
Using Cisco CML
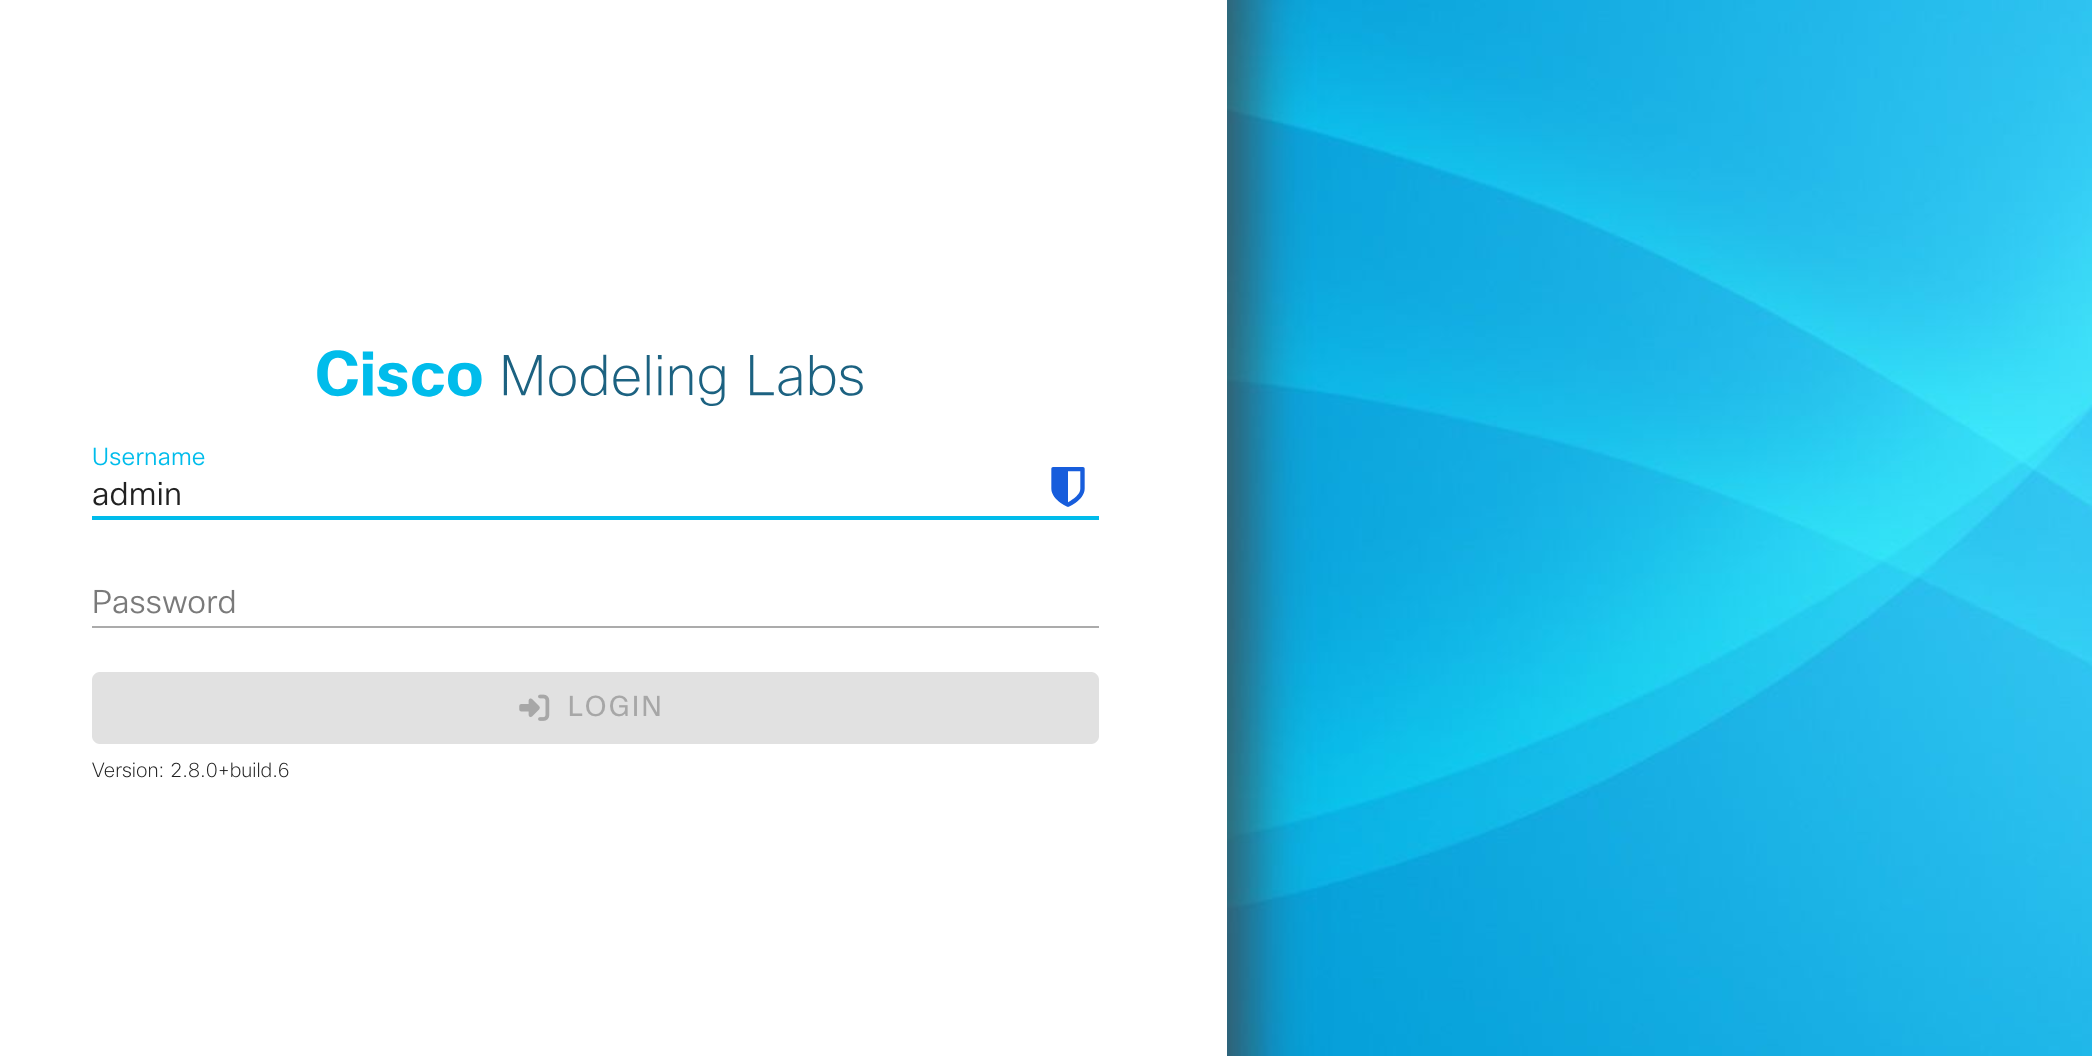
Once the installation is complete, open your browser and navigate to the IP address you assigned to the VM, for example: https://10.10.10.10.
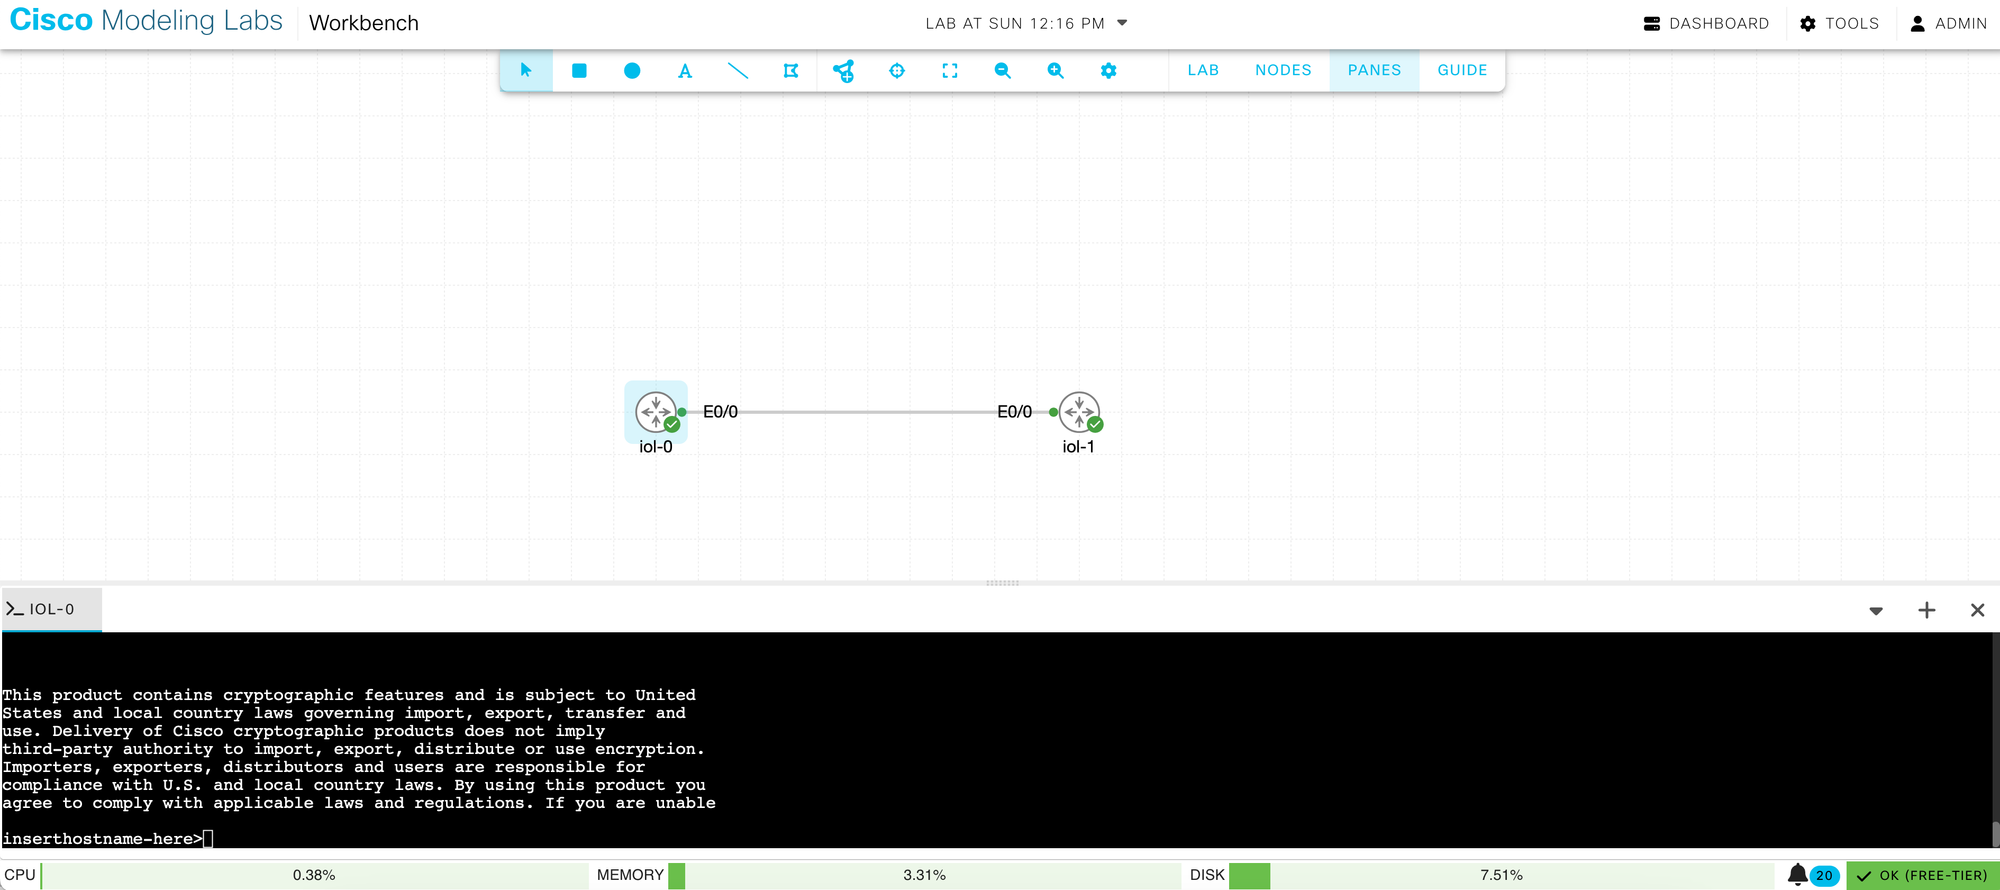
And that's it! From here, you can add nodes and access the CLI console directly.
