If you follow my blogs, you might know that I recently switched to Proxmox from VMware Workstation Pro for my home lab. I’ve already migrated most of my VMs, including Cisco CML, to Proxmox, and the last piece left was EVE-NG. In this blog post, we’ll go through the steps to install EVE-NG in Proxmox. Let’s get started!
As always, if you find this post helpful, press the ‘clap’ button on the left. It means a lot to me and helps me know you enjoy this type of content.

Overview
EVE-NG doesn’t have official documentation for Proxmox, but it works perfectly fine, and I haven’t faced any issues so far. For this example, I’m using
- Proxmox version 8.3.0
- EVE-NG Community Edition 6.2.0
Most of the VM’s settings can be left at their default values, but there are a couple of changes I had to make. Before diving in, let's have a quick look at Nested Virtualization.
Nested Virtualization
Nested virtualization allows you to run virtual machines inside another virtual machine. Essentially, it enables a hypervisor to be run within a virtualised environment, which is a requirement for platforms like EVE-NG that simulate network devices within a VM.
To check if nested virtualization is enabled on your Proxmox server, you can run the following command.
root@proxmox-01:~# cat /sys/module/kvm_intel/parameters/nested
Y
If the output is Y, nested virtualization is enabled. If it’s N, it means it’s not enabled. As EVE-NG relies on nested virtualization support, it’s important to ensure this feature is enabled.
If nested virtualization is not enabled, I recommend following the official Proxmox guide to enable it. Here is a quick summary of how to enable nested virtualization on Proxmox.
For Intel CPUs
echo "options kvm-intel nested=Y" > /etc/modprobe.d/kvm-intel.conf
For AMD CPUs (note the 1 instead of Y):
echo "options kvm-amd nested=1" > /etc/modprobe.d/kvm-amd.conf
Reboot the server or reload the kernel module
modprobe -r kvm_intel
modprobe kvm_intel
You can check again and make sure it is now enabled.
root@proxmox:~# cat /sys/module/kvm_intel/parameters/nested
Y

Creating an EVE-NG VM
As always, start by heading over to the EVE-NG website and downloading the appropriate image. In this example, I’m using the file eve-ce-prod-6.2.0-4-full.iso. Once downloaded, upload the ISO image to Proxmox.
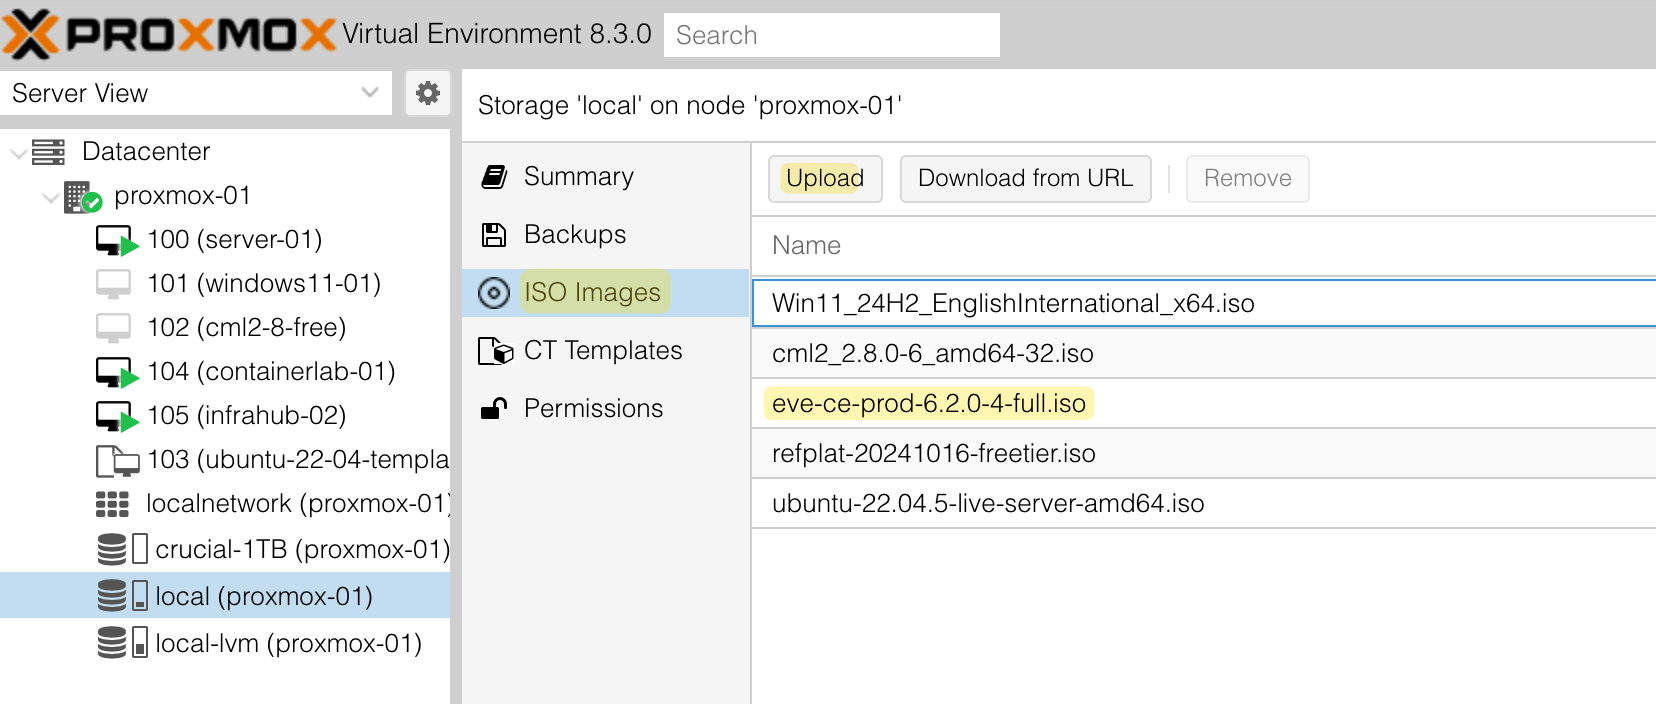
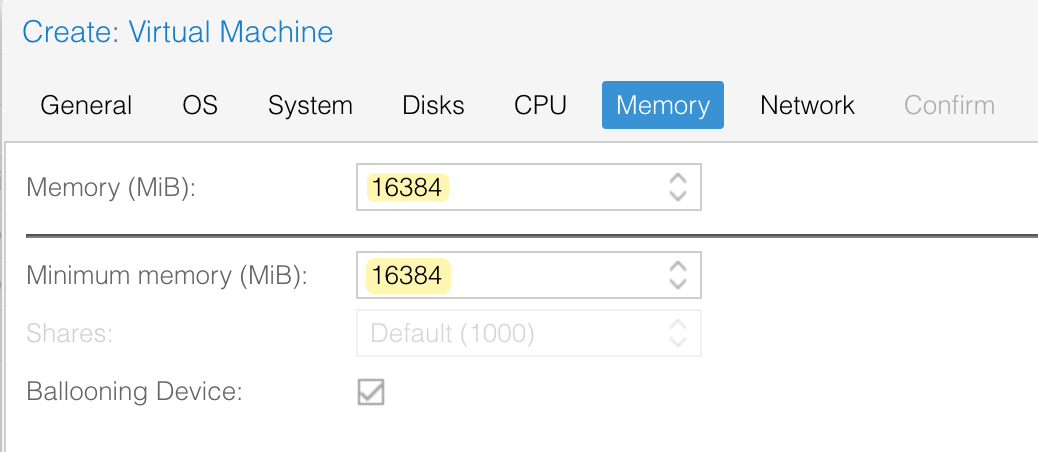
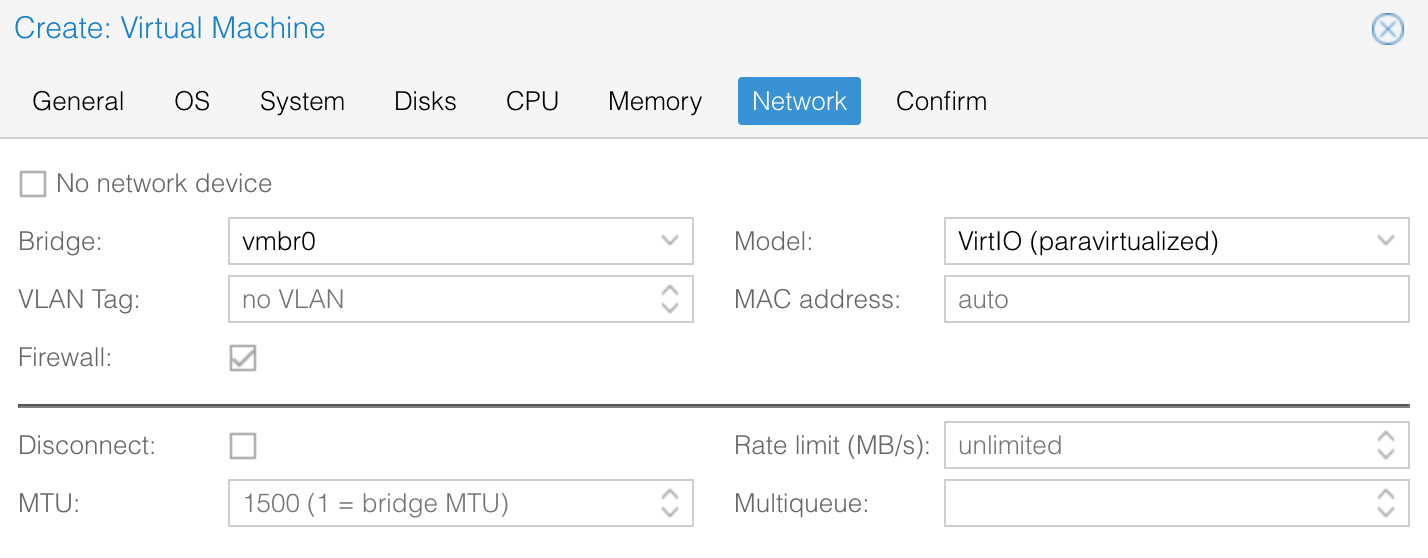
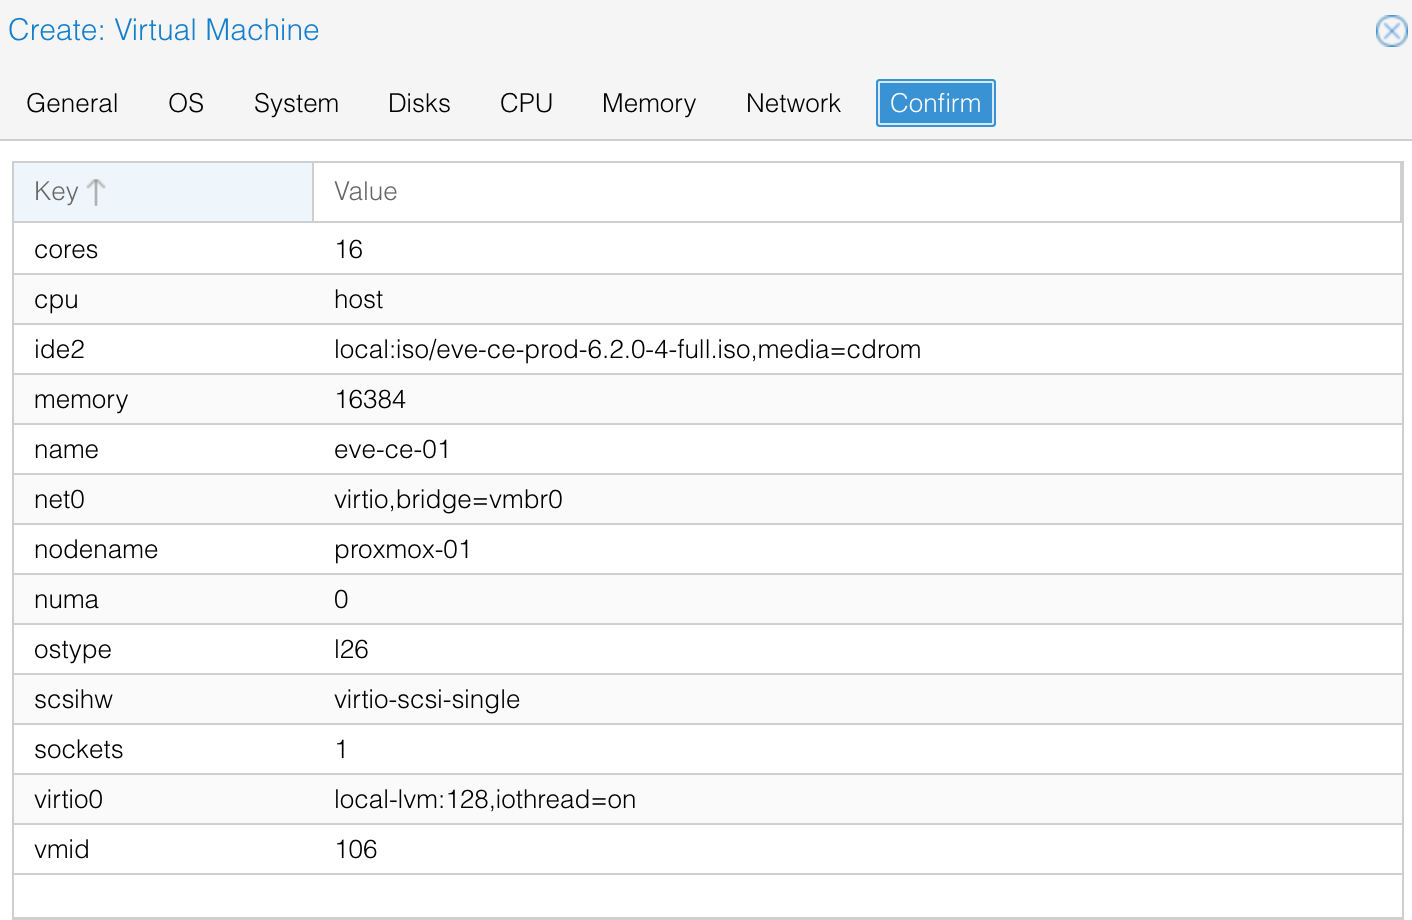
Next, create a new VM and follow the prompts as outlined below.


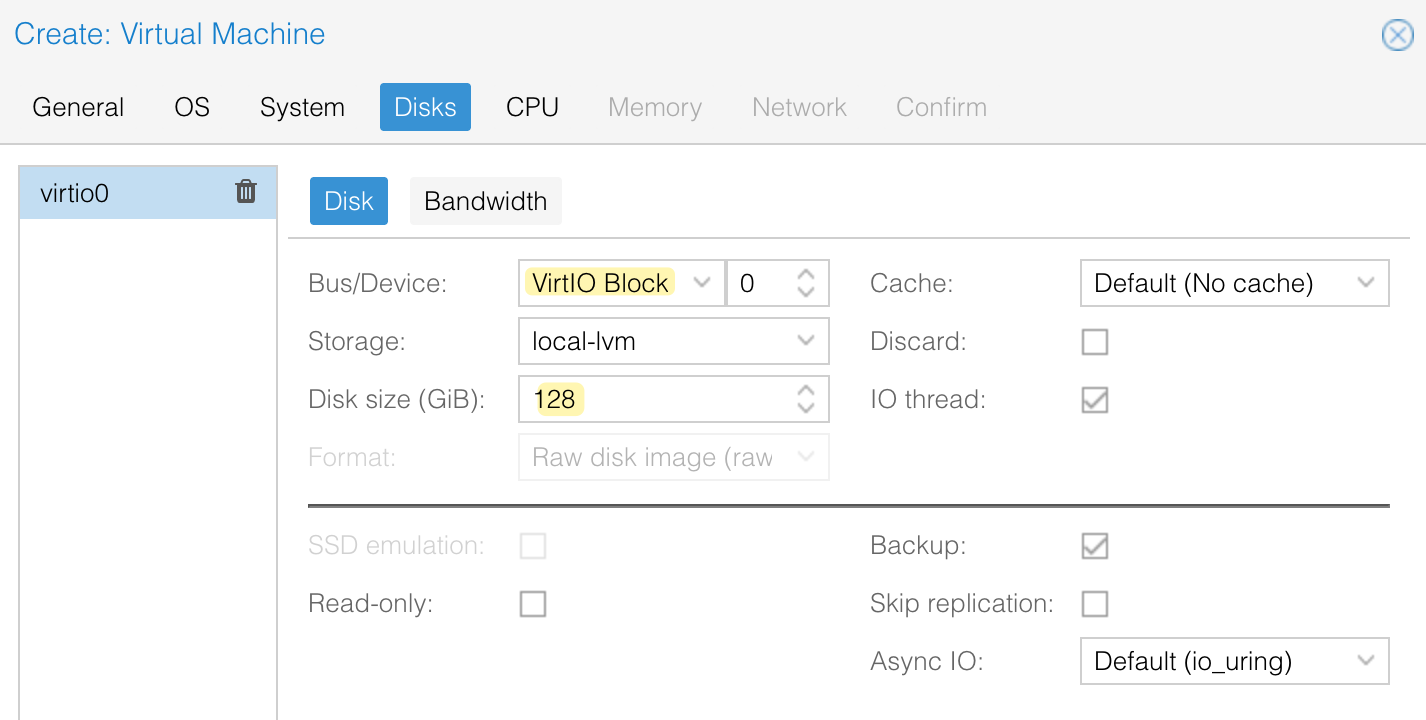
For the disk, I llocated 128GB and set the Bus/Device to VirtIO Block, as recommended by many users.
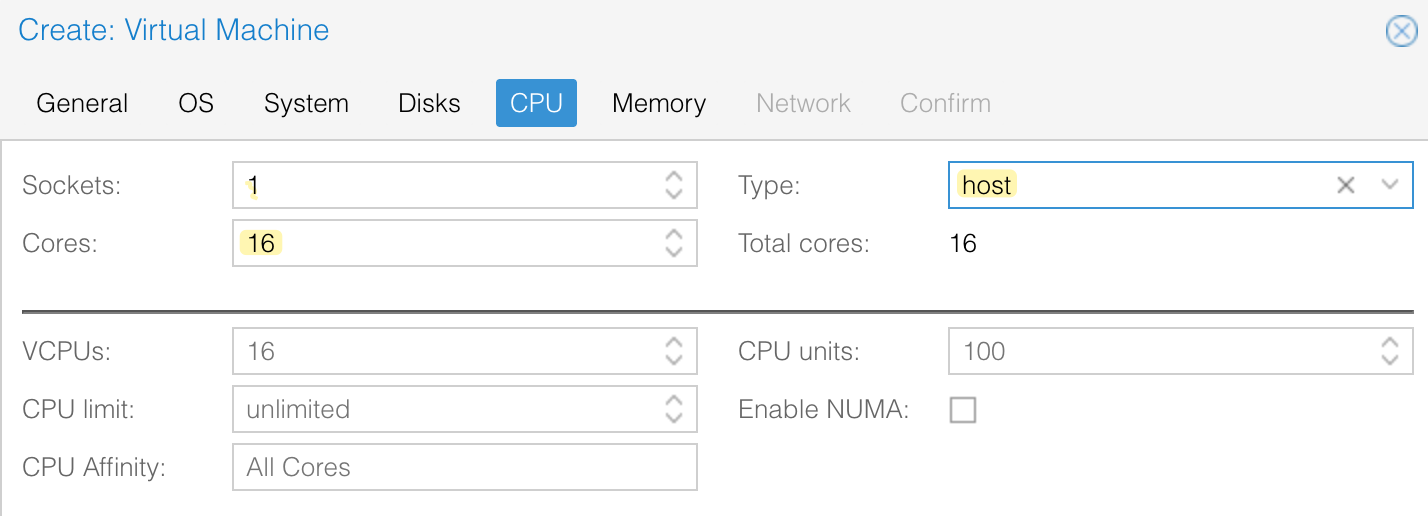
For the CPU, I allocated 1 socket and 16 cores. Make sure to set the type to host, which enables support for nested virtualization.

Installation
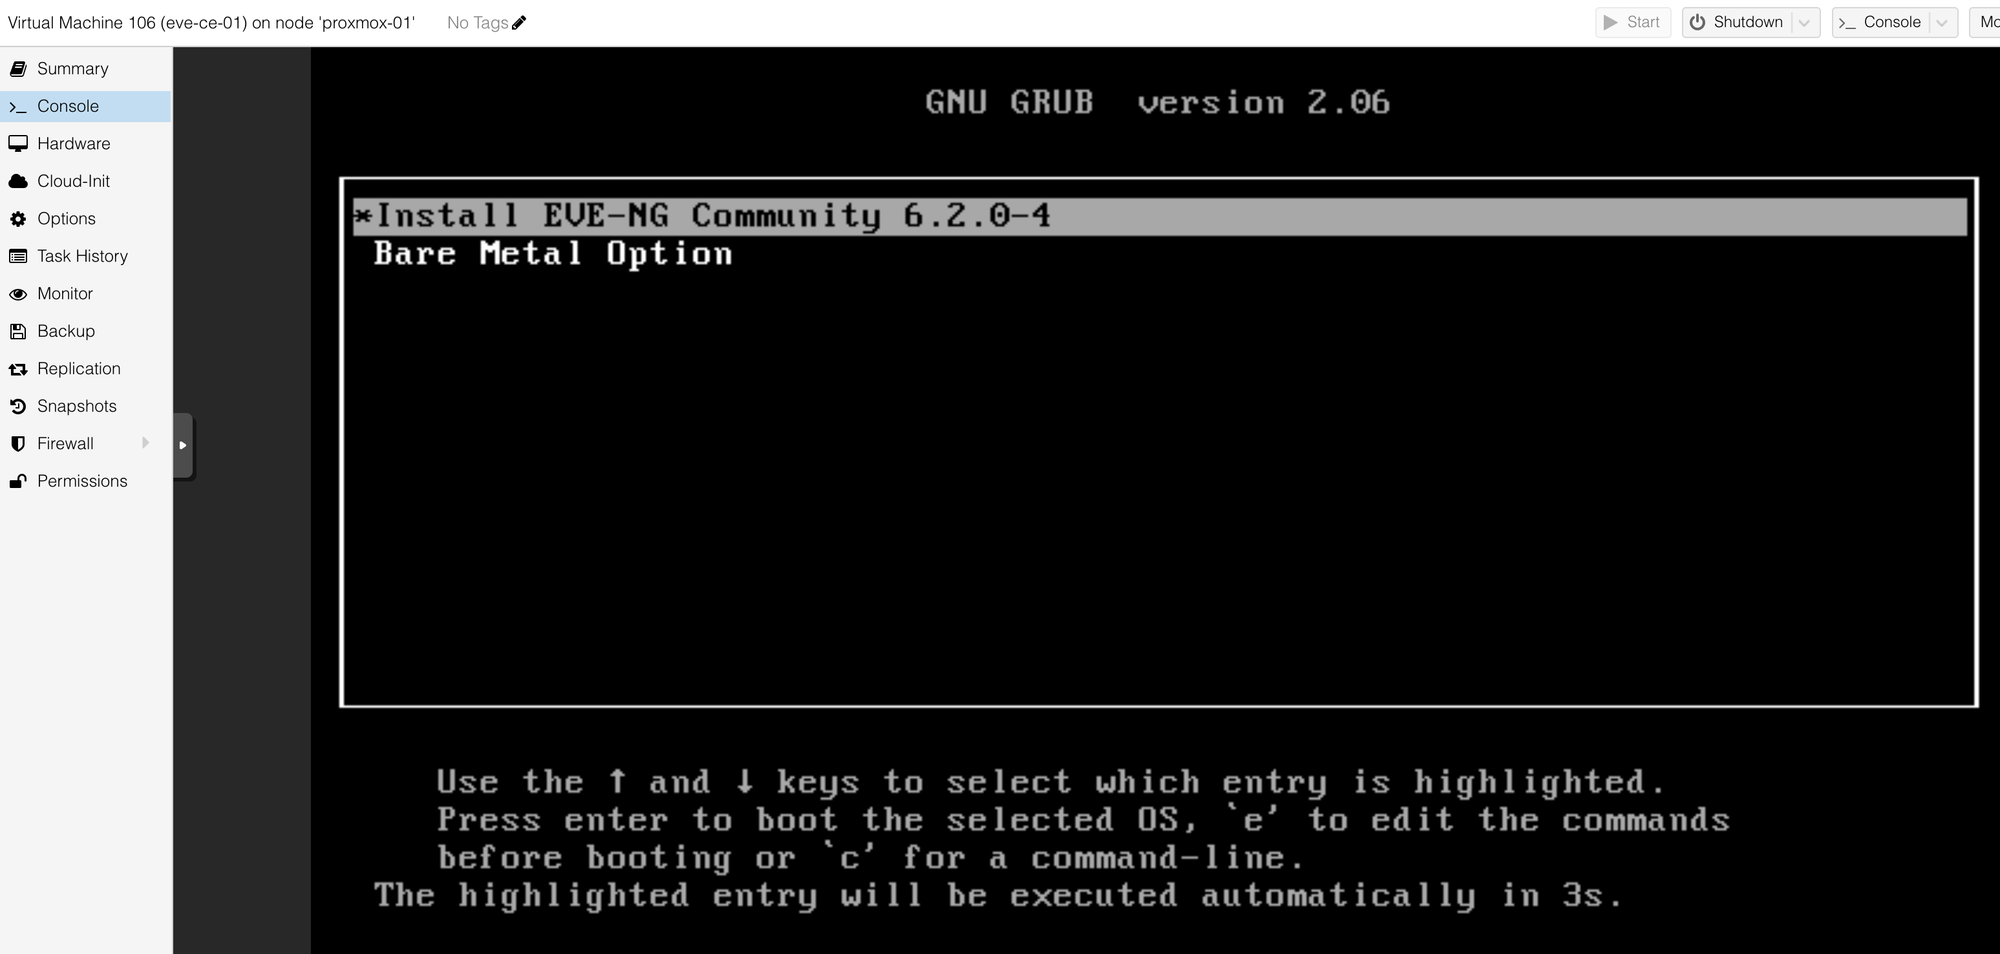
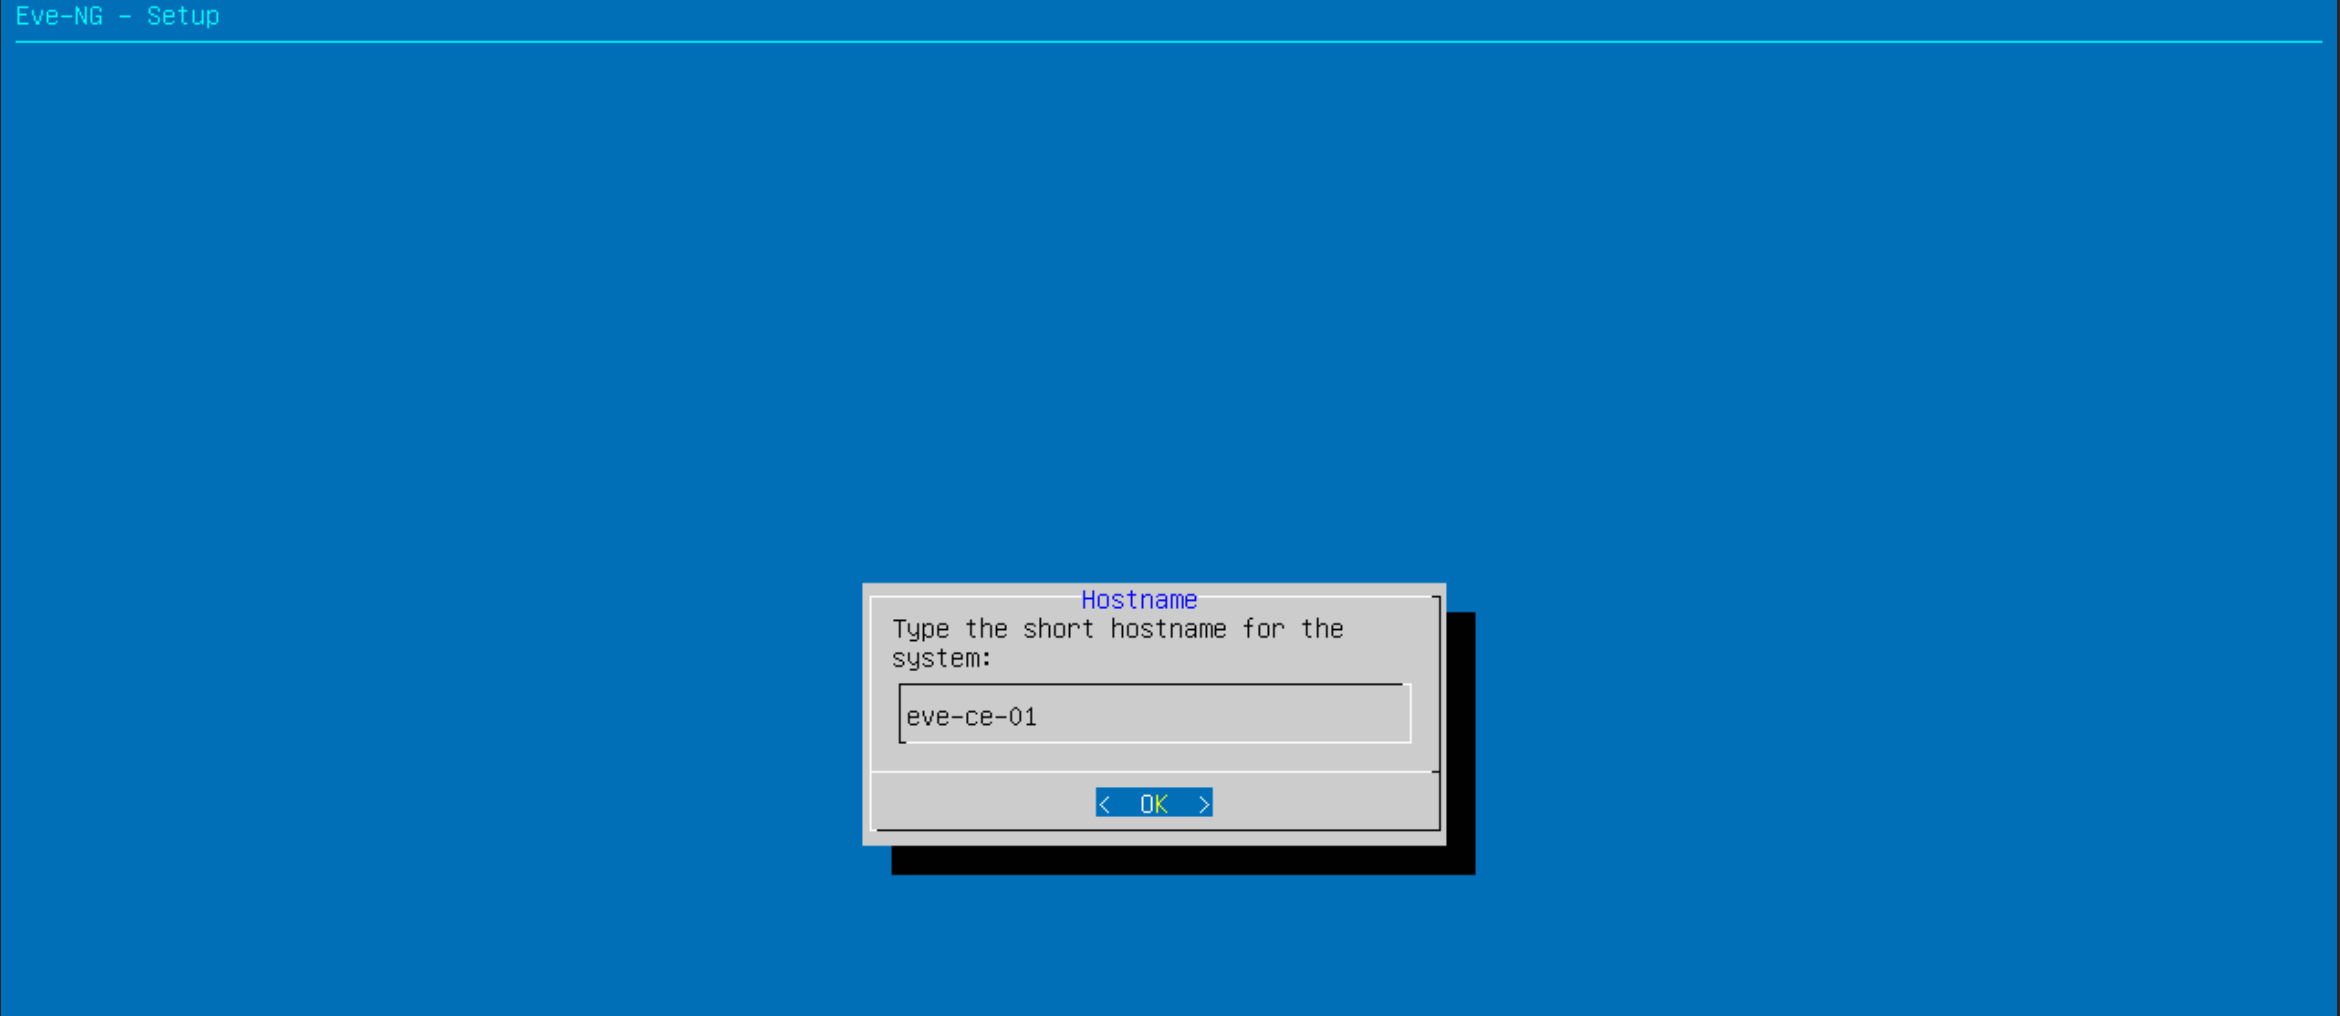
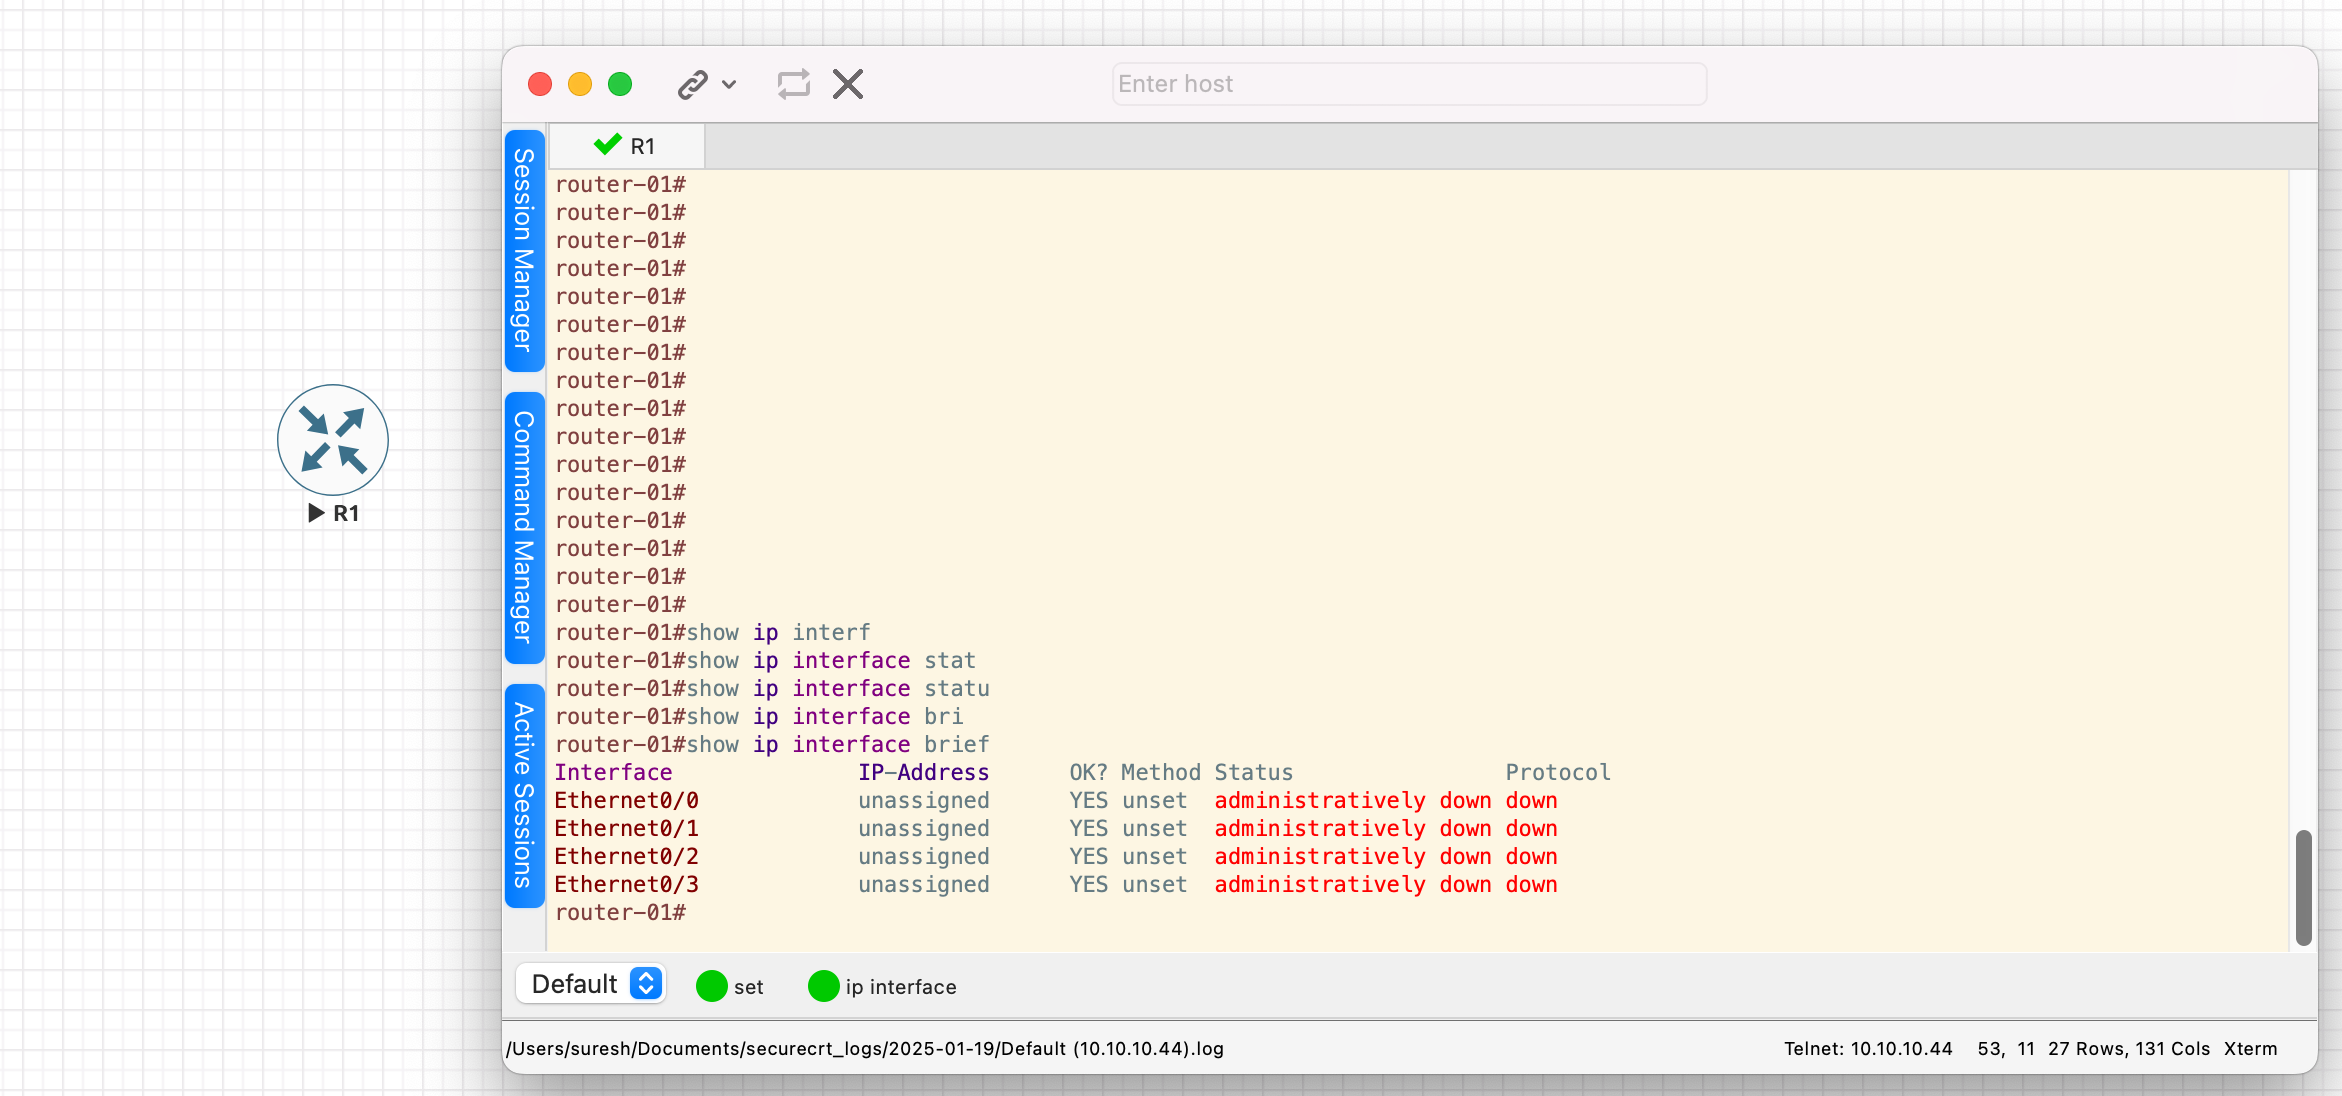
Once the VM is configured, start the VM and follow the installation instructions. These steps are the same regardless of the hypervisor you use. The installation took just a few minutes, and I was able to access the web GUI and successfully launch a Cisco IOL node.
Here, I selected the first option, Install EVE-NG Community 6.2.0-4. However, I remember reading that some user had to choose the Bare Metal Option for their installation. I didn’t need to do that, but it’s something to keep in mind in case you encounter any issues.


Closing Thoughts
As you can see, the process is straightforward and took me less than 10 minutes. I’ll continue using EVE-NG and will update this post if I encounter any issues. Don’t forget to subscribe and hit the clap button, it really helps and means a lot 😄
References
https://adamfromthefuture.wordpress.com/2018/08/30/running-eve-ng-under-proxmox/


