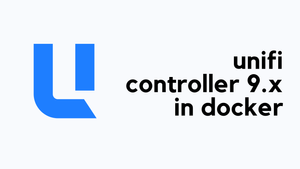
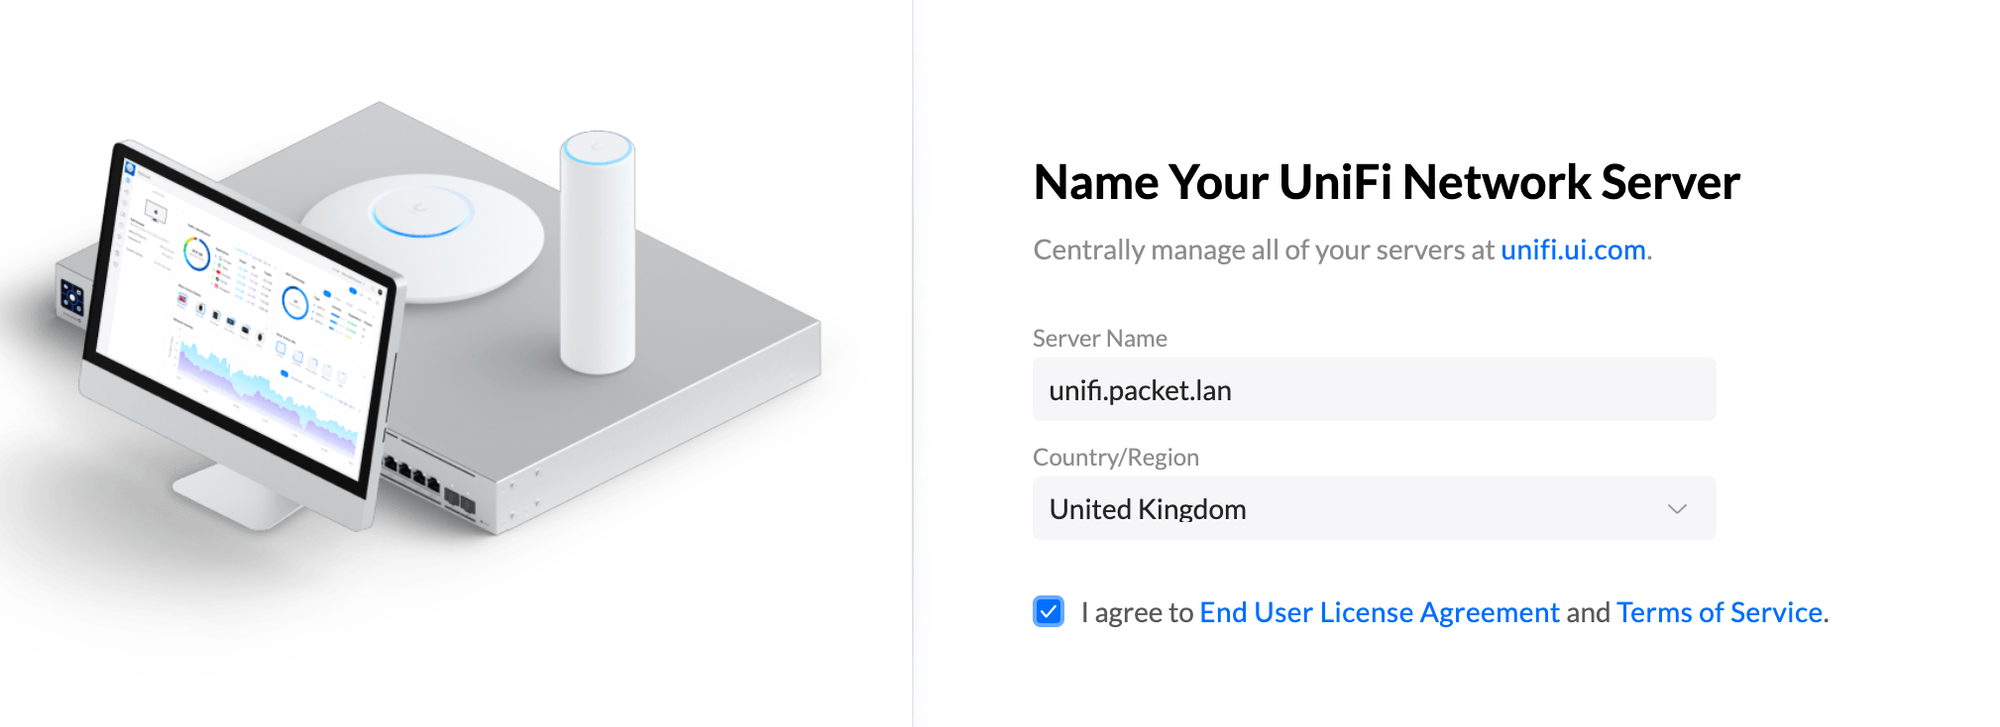
As of January 2024, the linuxserver/unifi-controller Docker image has been deprecated and is no longer receiving updates. This means it may no longer be secure or compatible with newer versions of UniFi devices. Users are now advised to switch to the linuxserver/unifi-network-application image, which is actively maintained and provides the latest version of the UniFi Network Application.
In this blog post, we will cover how to run the new image in Docker and how to migrate from the old image to the new one without losing your existing configuration.
As always, if you find this post helpful, press the ‘clap’ button. It means a lot to me and helps me know you enjoy this type of content.
Overview
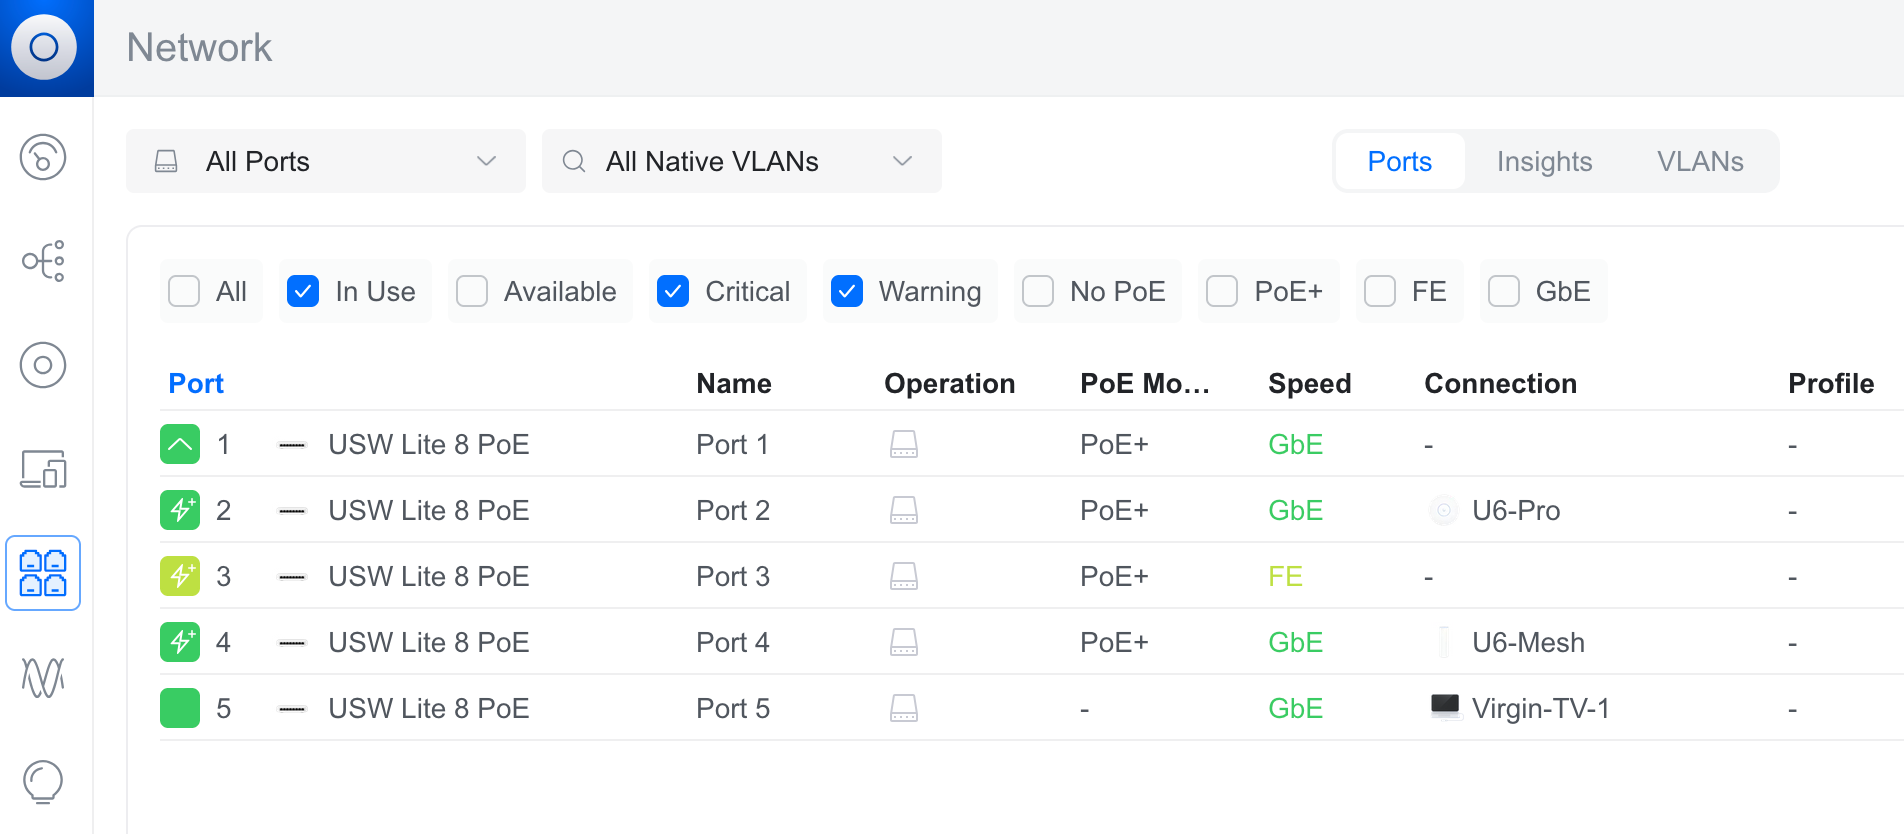
In my homelab, I have a USW Lite 8 PoE, U6-Pro, and U6 Mesh. I had been running the older linuxserver/unifi-controller Docker image since I first set them up. My controller was on version 8.0.34, if I remember correctly.
Recently, I moved to a new host, so I decided it was the right time to migrate to the new linuxserver/unifi-network-application image. While checking their GitHub page, I found this note.
You cannot perform an in-place upgrade from an existing Unifi-Controller container, you must run a backup and then a restore.
Following this, I exported a backup from the old controller and successfully imported it into the new one without any issues. Now, let’s look at how to set this up.
Unifi Network Application in Docker
The UniFi Network Application relies on MongoDB as its database to store configurations, device settings, and historical network data. Unlike the older unifi-controller image, the new unifi-network-application image does not include MongoDB by default. This means you need to run a separate MongoDB container alongside it.
To initialise MongoDB for the UniFi Network Application, you need a script init-mongo.sh that creates the required database user and assigns the necessary roles. Below is the script you’ll need.
#!/bin/bash

if which mongosh > /dev/null 2>&1; then
  mongo_init_bin='mongosh'
else
  mongo_init_bin='mongo'
fi
"${mongo_init_bin}" <<EOF
use ${MONGO_AUTHSOURCE}
db.auth("${MONGO_INITDB_ROOT_USERNAME}", "${MONGO_INITDB_ROOT_PASSWORD}")
db.createUser({
  user: "${MONGO_USER}",
  pwd: "${MONGO_PASS}",
  roles: [
    { db: "${MONGO_DBNAME}", role: "dbOwner" },
    { db: "${MONGO_DBNAME}_stat", role: "dbOwner" }
  ]
})
EOF
This script ensures MongoDB has the correct user credentials and permissions before the UniFi container starts. You can place this script in the same directory as your docker-compose.yml file or store it elsewhere and reference it in your compose configuration.
services:
  unifi-db:
    image: docker.io/mongo:7.0
    container_name: unifi-db
    environment:
      - MONGO_INITDB_ROOT_USERNAME=root
      - MONGO_INITDB_ROOT_PASSWORD=PASSWORD-DONT-SHARE
      - MONGO_USER=unifi
      - MONGO_PASS=PASSWORD-DONT-SHARE
      - MONGO_DBNAME=unifi
      - MONGO_AUTHSOURCE=admin
    volumes:
      - /home/suresh/containers/mongo/data:/data/db
      - /home/suresh/containers/init-mongo.sh:/docker-entrypoint-initdb.d/init-mongo.sh:ro
    restart: unless-stopped

  unifi-network-application:
    image: lscr.io/linuxserver/unifi-network-application:9.0.108
    container_name: unifi-network-application
    environment:
      - PUID=1000
      - PGID=1000
      - TZ=Etc/UTC
      - MONGO_USER=unifi
      - MONGO_PASS=PASSWORD-DONT-SHARE
      - MONGO_HOST=unifi-db
      - MONGO_PORT=27017
      - MONGO_DBNAME=unifi
      - MONGO_AUTHSOURCE=admin
      - MEM_LIMIT=1024 #optional
      - MEM_STARTUP=1024 #optional
      - MONGO_TLS= #optional
    volumes:
      - /home/suresh/containers/unifi/data:/config
    ports:
      - 8443:8443
      - 3478:3478/udp
      - 10001:10001/udp
      - 8080:8080
      - 1900:1900/udp #optional
      - 8843:8843 #optional
      - 8880:8880 #optional
      - 6789:6789 #optional
      - 5514:5514/udp #optional
    restart: unless-stopped
This compose file defines two services.
- unifi-db: Runs MongoDB and ensures it is correctly configured with the required database, user, and credentials.
- unifi-network-application: Runs the UniFi Network Application and connects to MongoDB for data storage.
Finally, run docker compose up -d to bring everything up.
Restoring from Backup
Before switching to the new controller, make sure to take a backup from the old one. Navigate to Settings > System > Backup, generate a backup, and download it. I also included the last 30 days of stats in my backup.
Once the new controller is up and running, you need to update Inform Host. The UniFi Controller running in Docker uses bridge networking by default, meaning it will be assigned an IP address from the Docker network (typically something like 172.x.x.x), which is different from your main network's IP range.
To ensure that your UniFi devices can properly communicate with the controller, you need to update the 'Inform Host' setting. Go to Settings > System > Advanced and override the default IP with the real IP address of the host running the UniFi container. This way, your devices will be able to find and connect to the controller without any issues.

Then, go to Settings > System > Backup and restore the backup file. The process can take 5–10 minutes, and during this time, your APs may temporarily disconnect, causing a brief WiFi outage.

Once completed, you should be able to log in and see all your previous configurations and data.